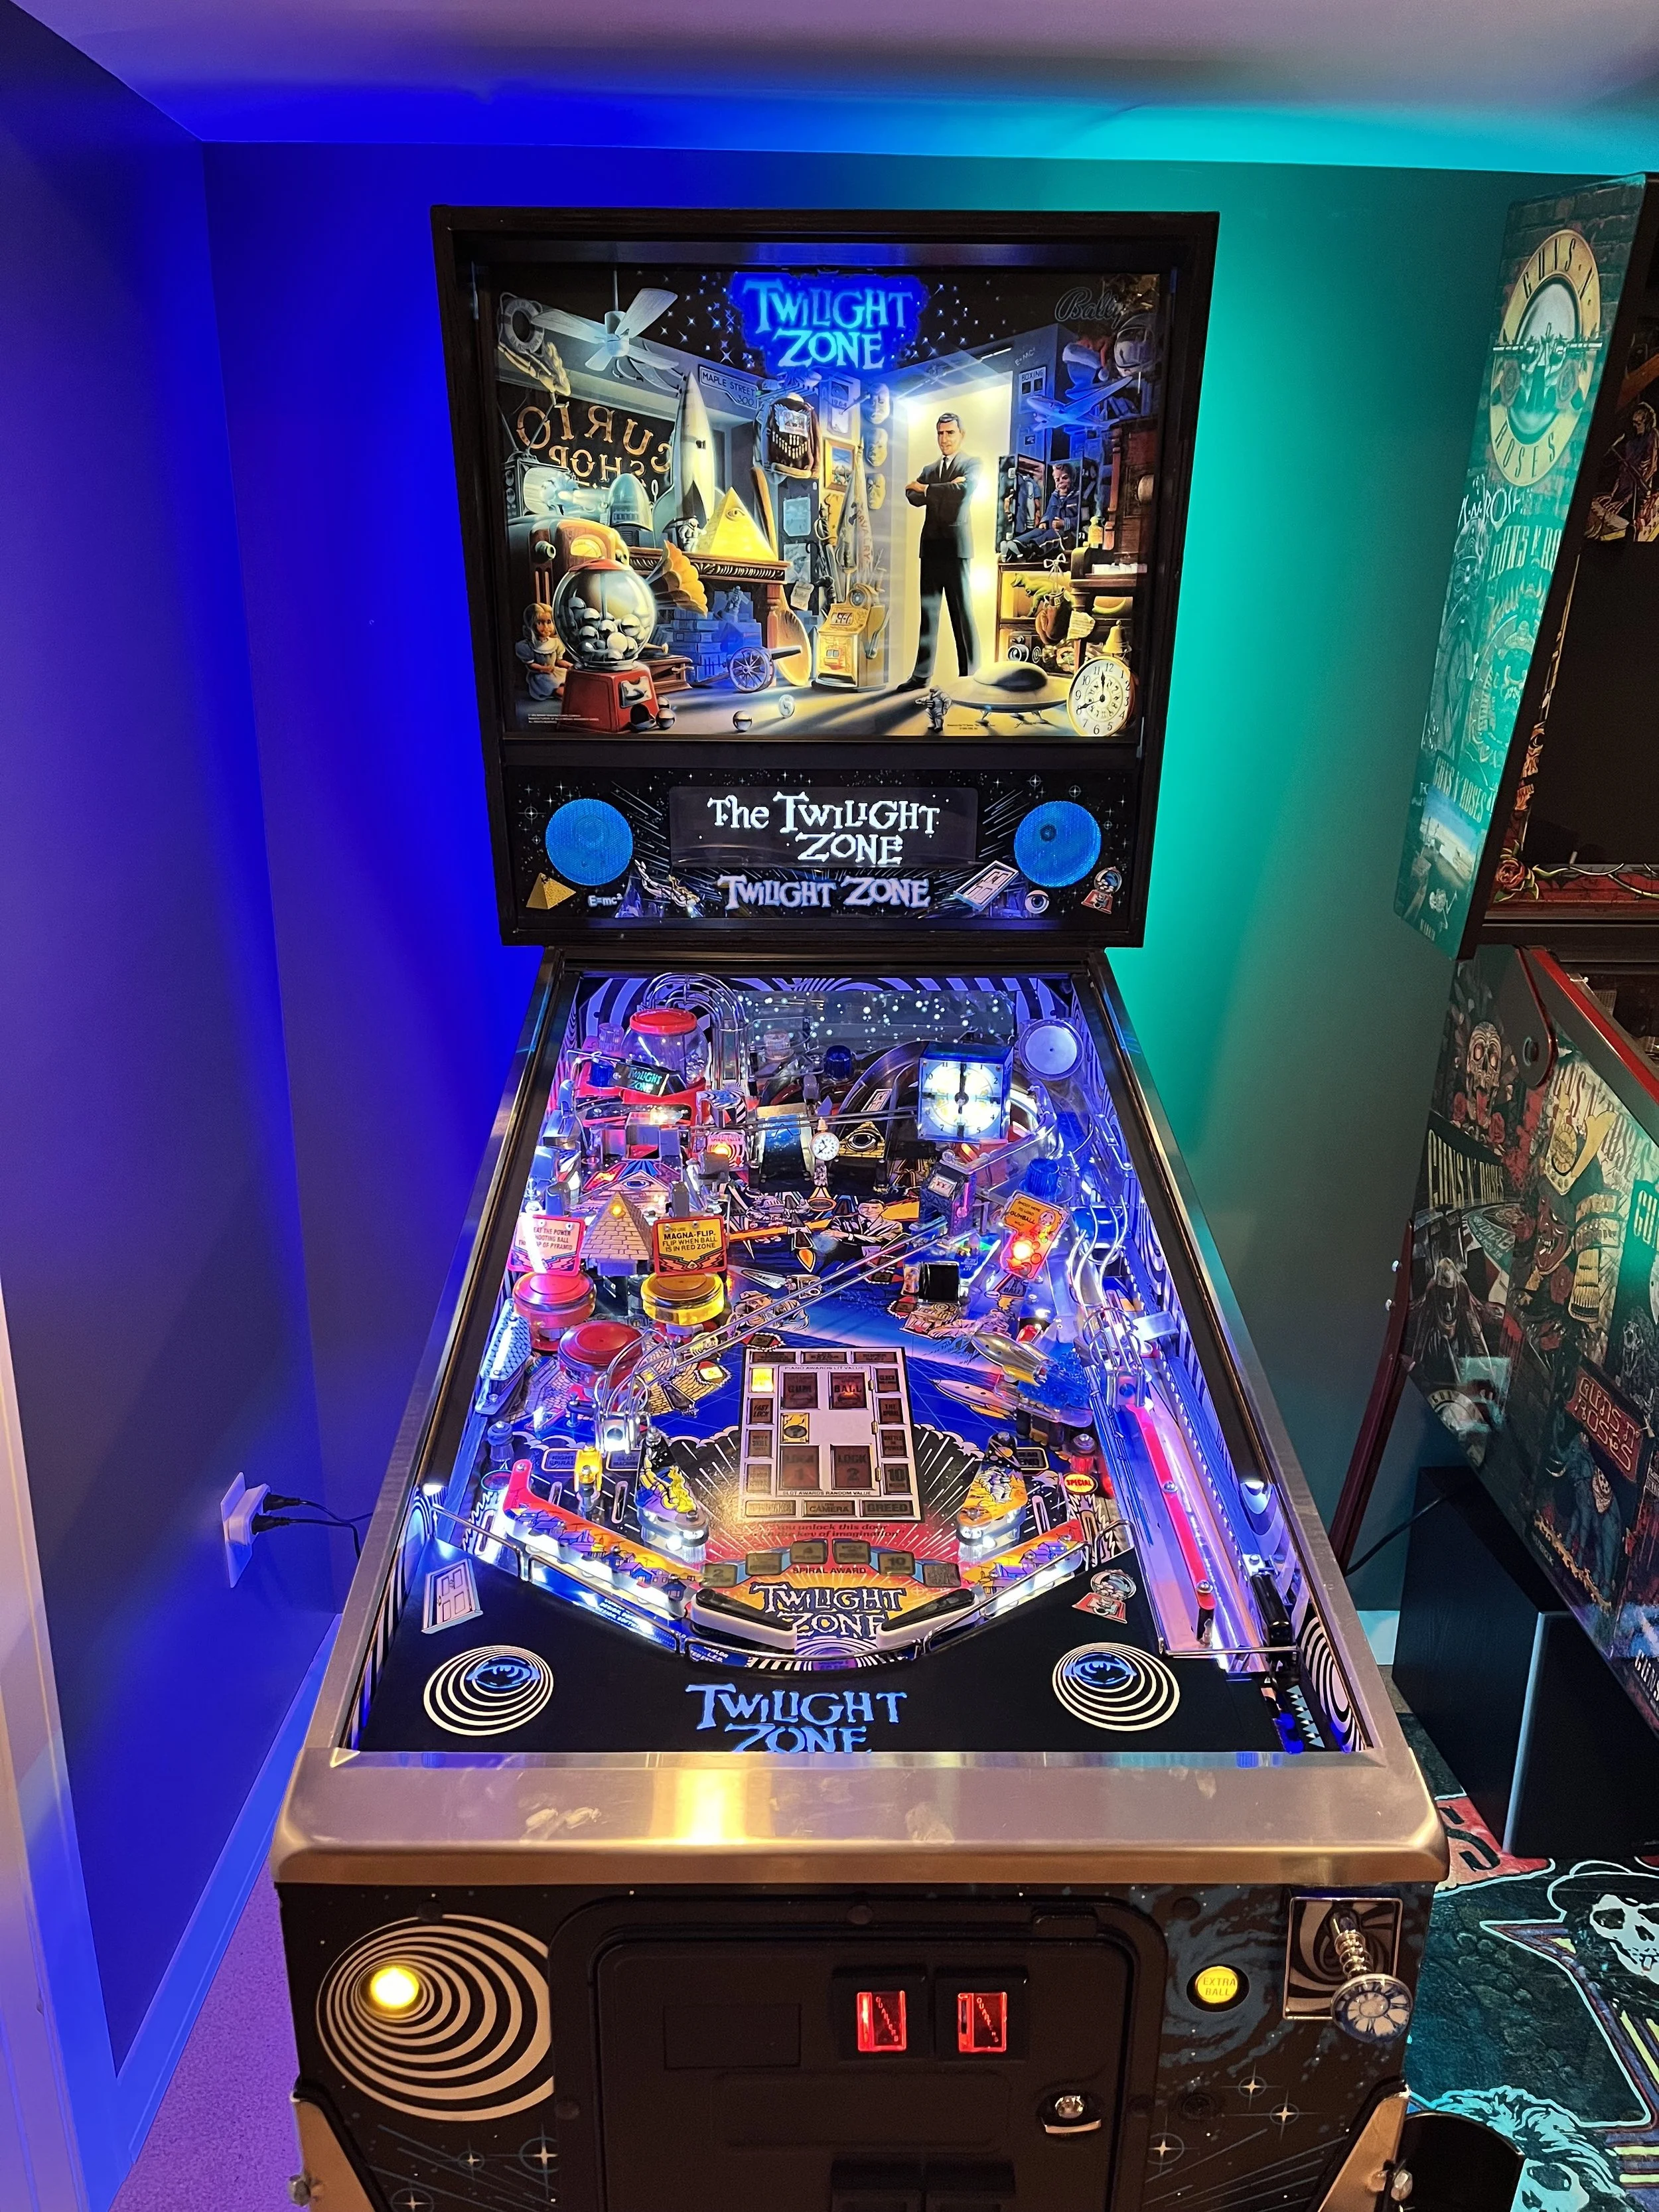
A Maxed out TZ
Reader be warned, this will be a long read! When I set out to write this article, I never envisioned it becoming a multi-page post, but as I quickly learned, it’s very difficult to summarize a build that has spanned the course of several months. However, if you’re a Twilight Zone owner (or aspiring modder looking for inspiration) I hope there’ll be some useful information in here for you.
But first, a little bit of background…
Like many in this hobby, I’ve been lucky to own a lot of different games over the years, but Twilight Zone is the only one that’s come and gone - and came back again. It also so happens to be the title that sent me DEEP down the mod rabbit hole, and I’ve never looked back!
As a pinball owner, I’ve never been able to house more than a few games at a time due to the size of my basement, so flipping games has been the norm along my pinball journey. Twilight Zone was always one of the games that I knew I’d have to reacquire one day, and when I saw the black and white version that the Great American Pinball Company built, I became fixated with the idea of getting this game back into my lineup.
So as one does, I started by scouring the local pinball forums and Pinside, and eventually, I found a game in Chicago that appeared to be in really good condition. I mean, would you look at that damn playfield!
We worked out a deal for $7500 cash, which at the time was a little high. I justified it by the fact the previous owner had added a full LED kit and color DMD, which would save me a little time down the road (and would you look at that gorgeous playfield!). I’d fully expect the same game to sell closer to $9k-$10k these days, but let’s be honest, people have lost their damn minds as of late!
Leading up to the purchase, I’d amassed a laundry list of things I knew I wanted to do to the game, and like a teen who just discovered his dad’s “reading material” I was excited to dig in!
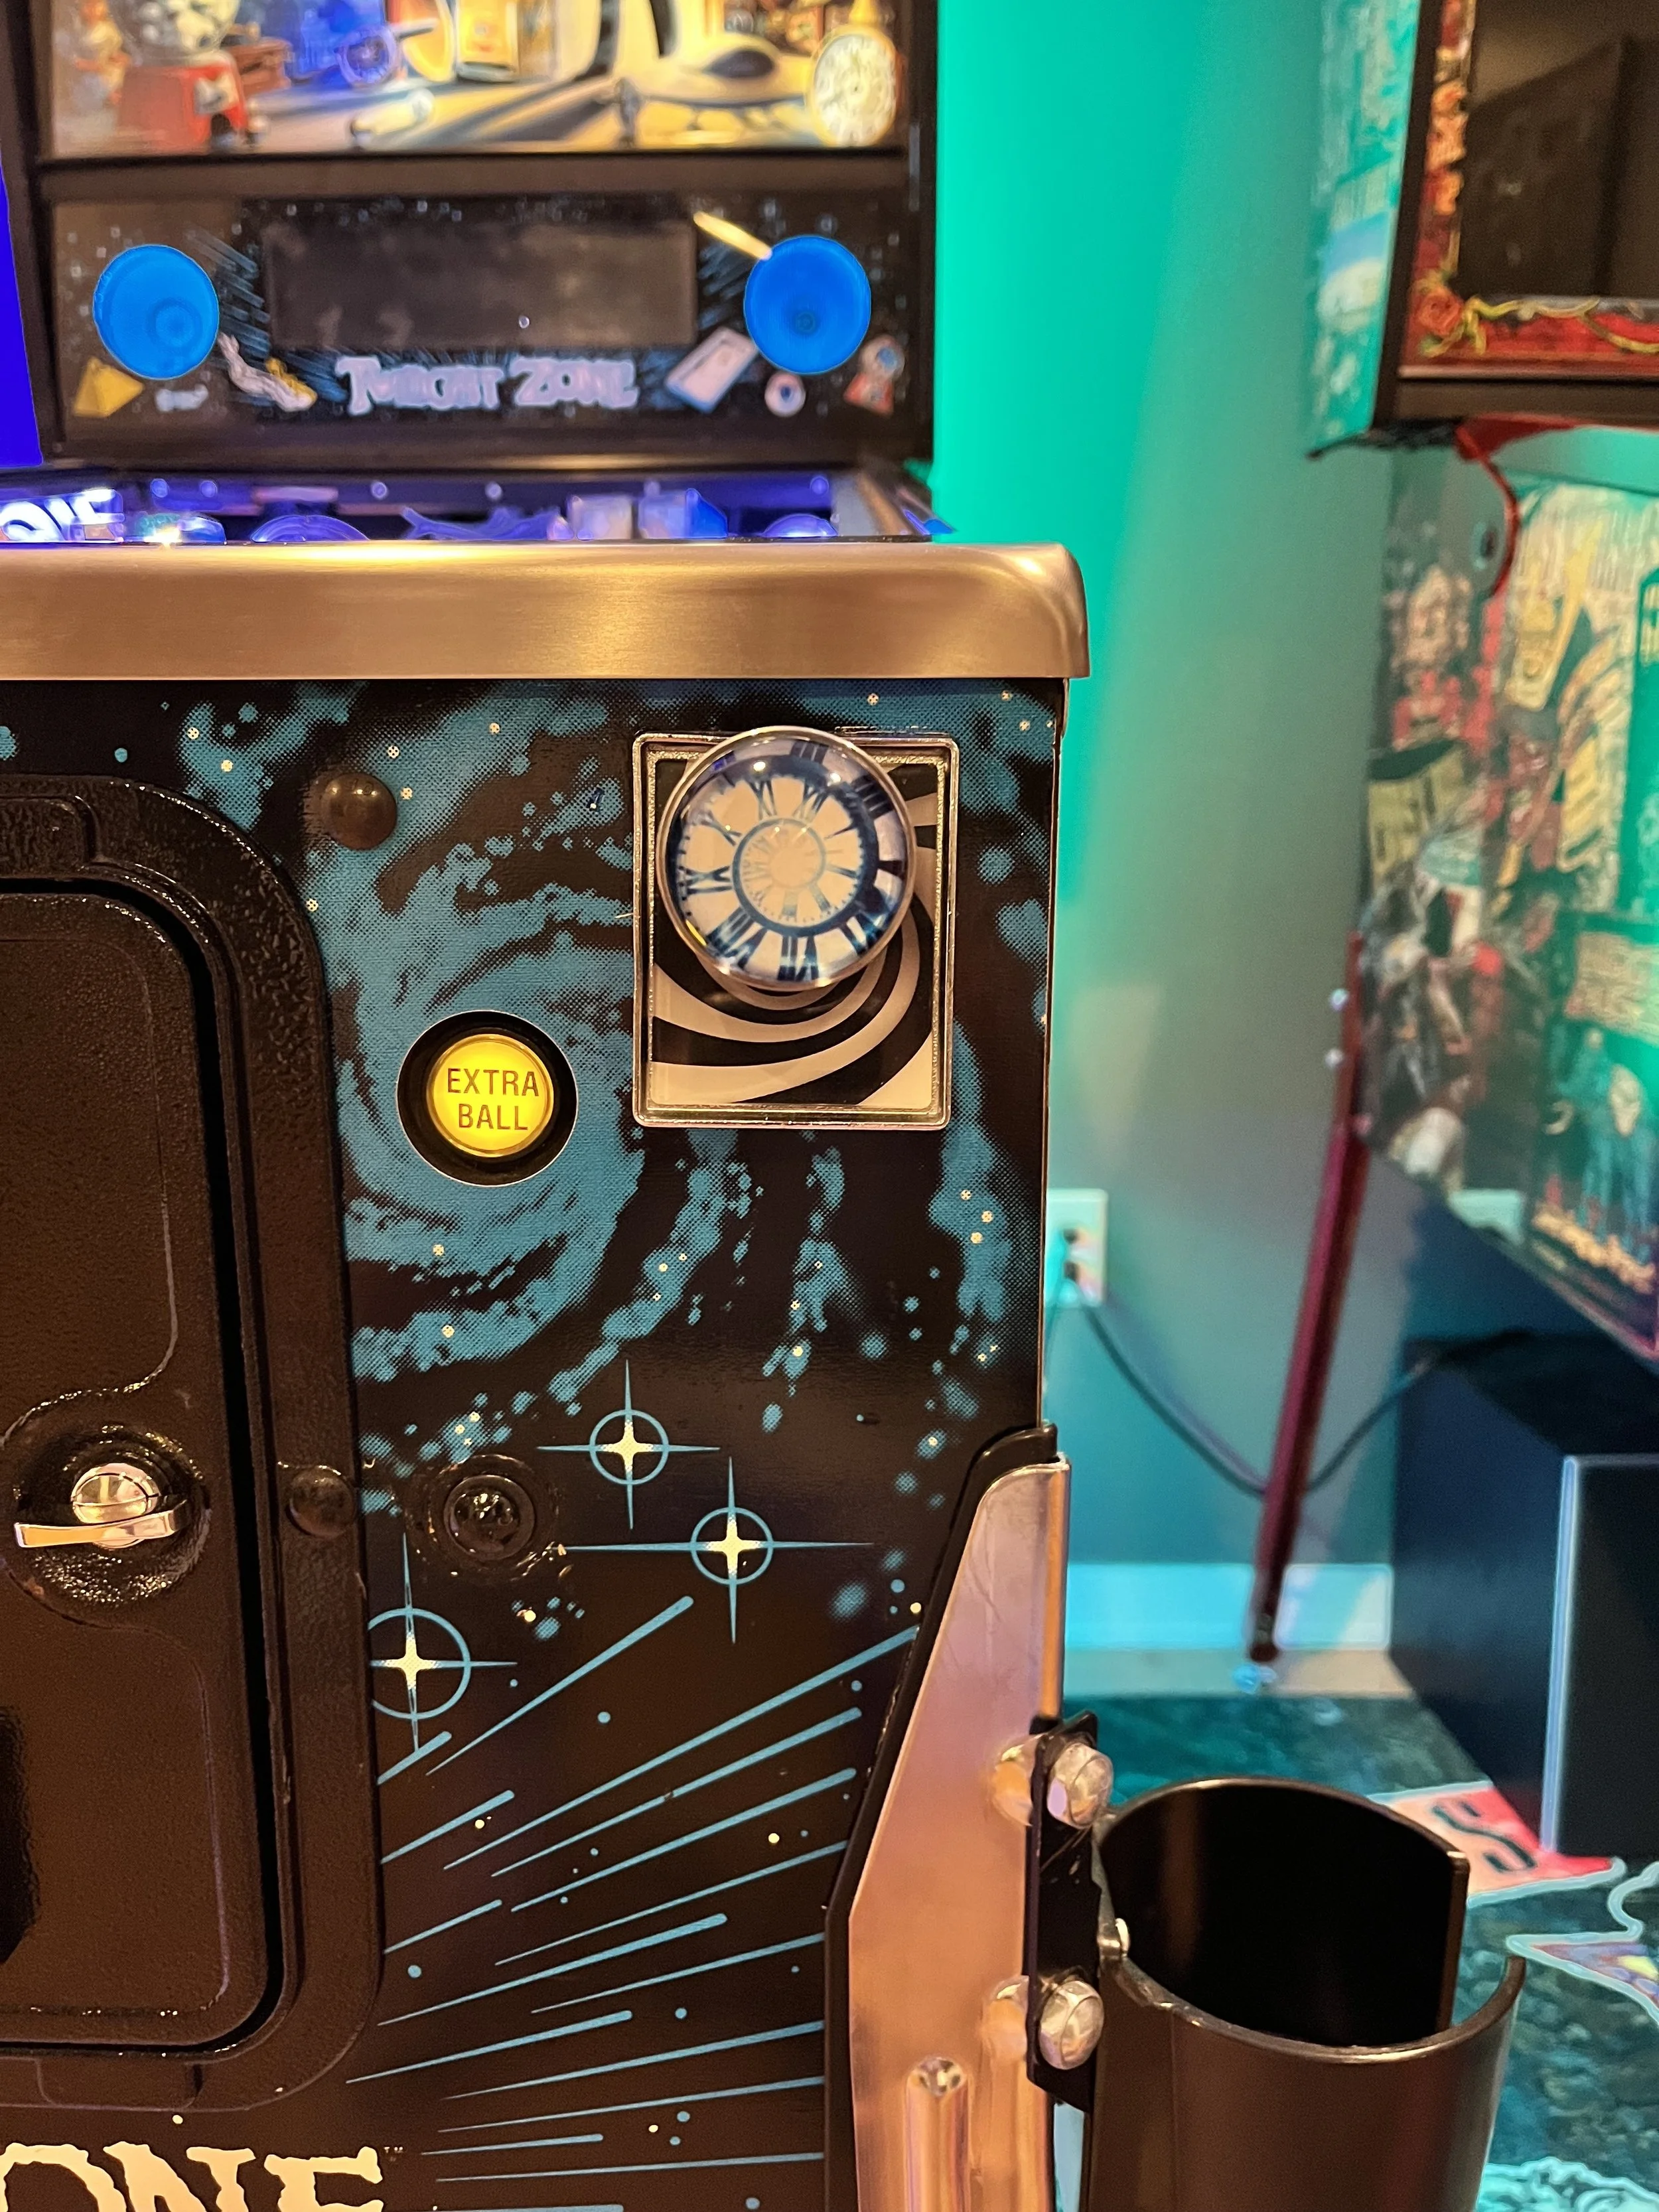
The first thing I tackled was the inside cabinet art. Again, I really loved the black and white version I’d seen previously, so having that spiral artwork was a must in my mind. The cabinet art was easy to apply using the “wet method” (if you don’t know what this is, look it up). Hands down the easiest way to install any art blades you may have!
I ordered a new sheet of glass as well but opted for the standard glass instead of HD or Invisiglass. In hindsight, I somewhat regret this decision and may opt for the newer versions now, having seen the difference on my other machines. I donated the former sheet to a local arcade operator, who was more than happy to put it to use.
From there, I moved on to adding these really cool plasma pop bumpers that I found on Lighted Pinball Mods’ website. I LOVE the look these poppers give the game BUT the installation process was a task and likely would exceed most beginner or intermediate-level modder’s comfort level. You have to fully remove the previous popper assemblies and cut some of the wiring to make way for the new parts, and let me tell you making any permanent changes to a game like this is a hairy moment for anyone! Ultimately, I was able to get one unit properly installed and then it was a matter of rinse/repeat, but all-in it was easily a 3-4 hour job.
Following that installation, I needed a break from the heavy lifting and instead focused on some easy tasks. I added the pyramid mod over the Power playfield and installed new black and white flipper bats (and rubbers) to better match the themed artwork I added earlier. I also added some custom decals to the Power ramp, target posts, and the ball diverter. While I was there I slapped a magnet onto the back of the diverter to stop any potential bounce outs, which I’d read was a common issue.
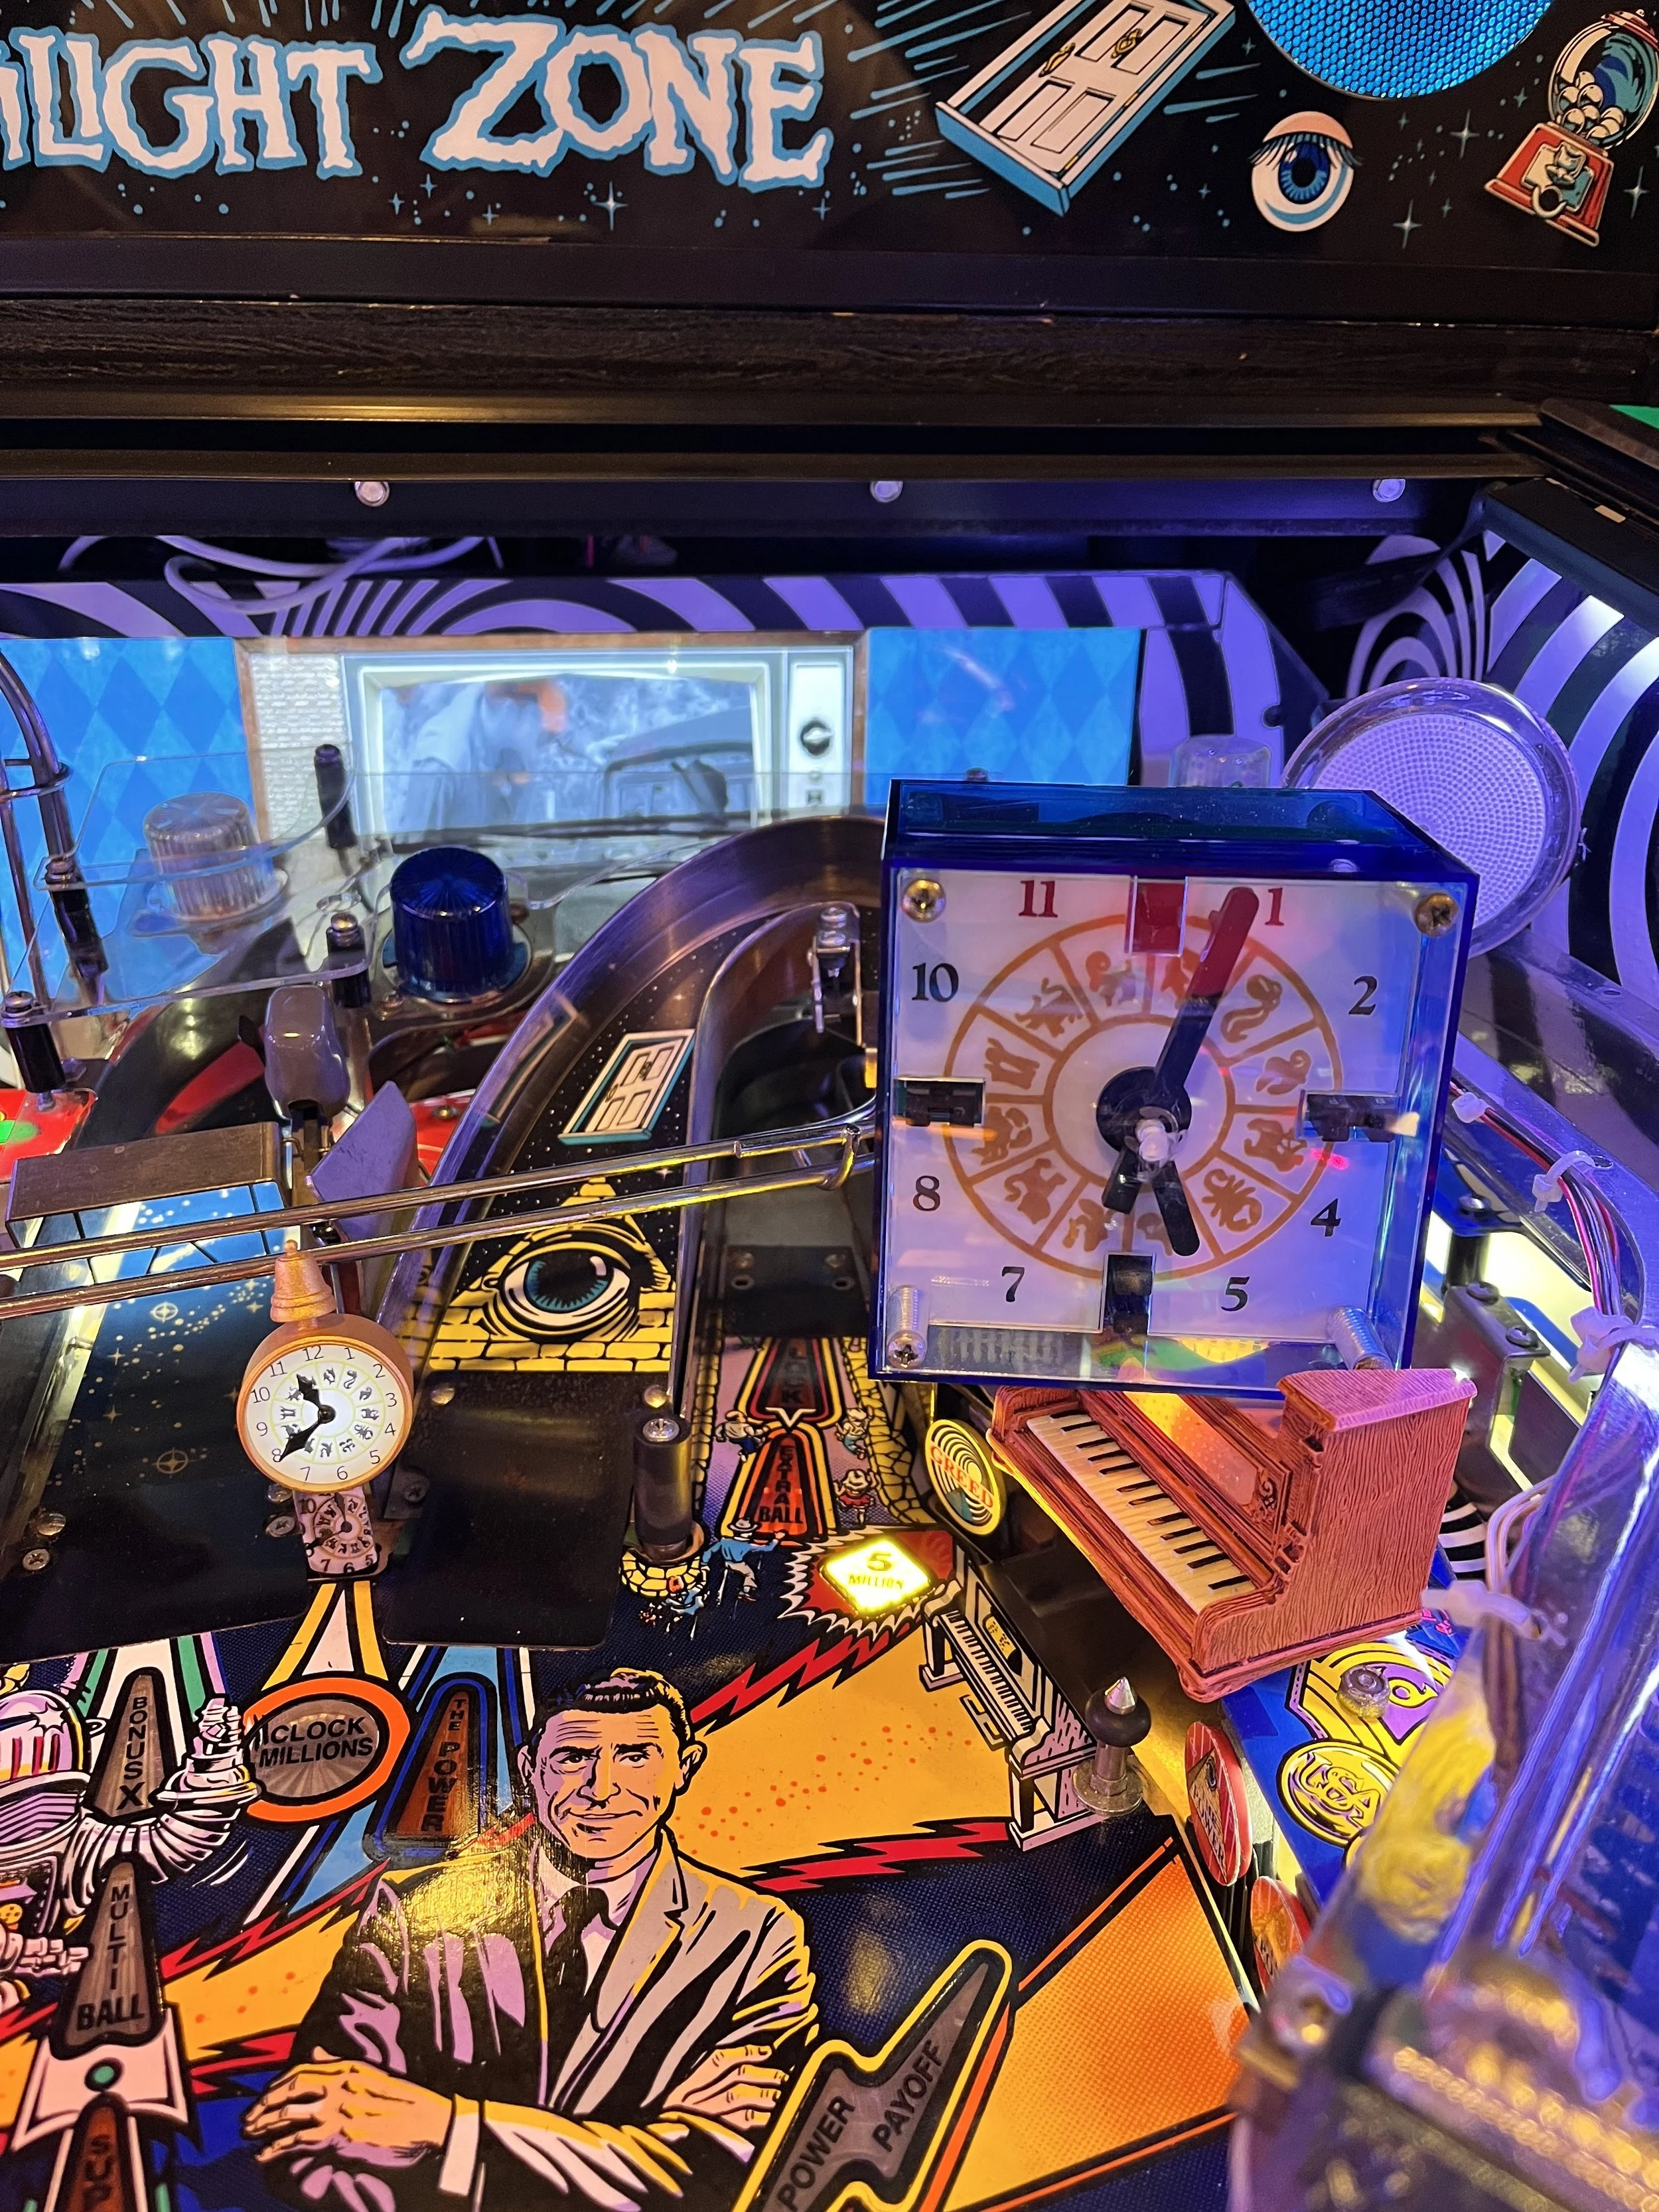
The rocket, piano, and clock mods were all easy installs as well, but I took things a bit further by painting the rocket with some very cool chrome paint I found online. I also added a custom, chrome lamp over the Power playfield and a chrome spiral sign. If you can’t tell, I’m a sucker for shiny things!
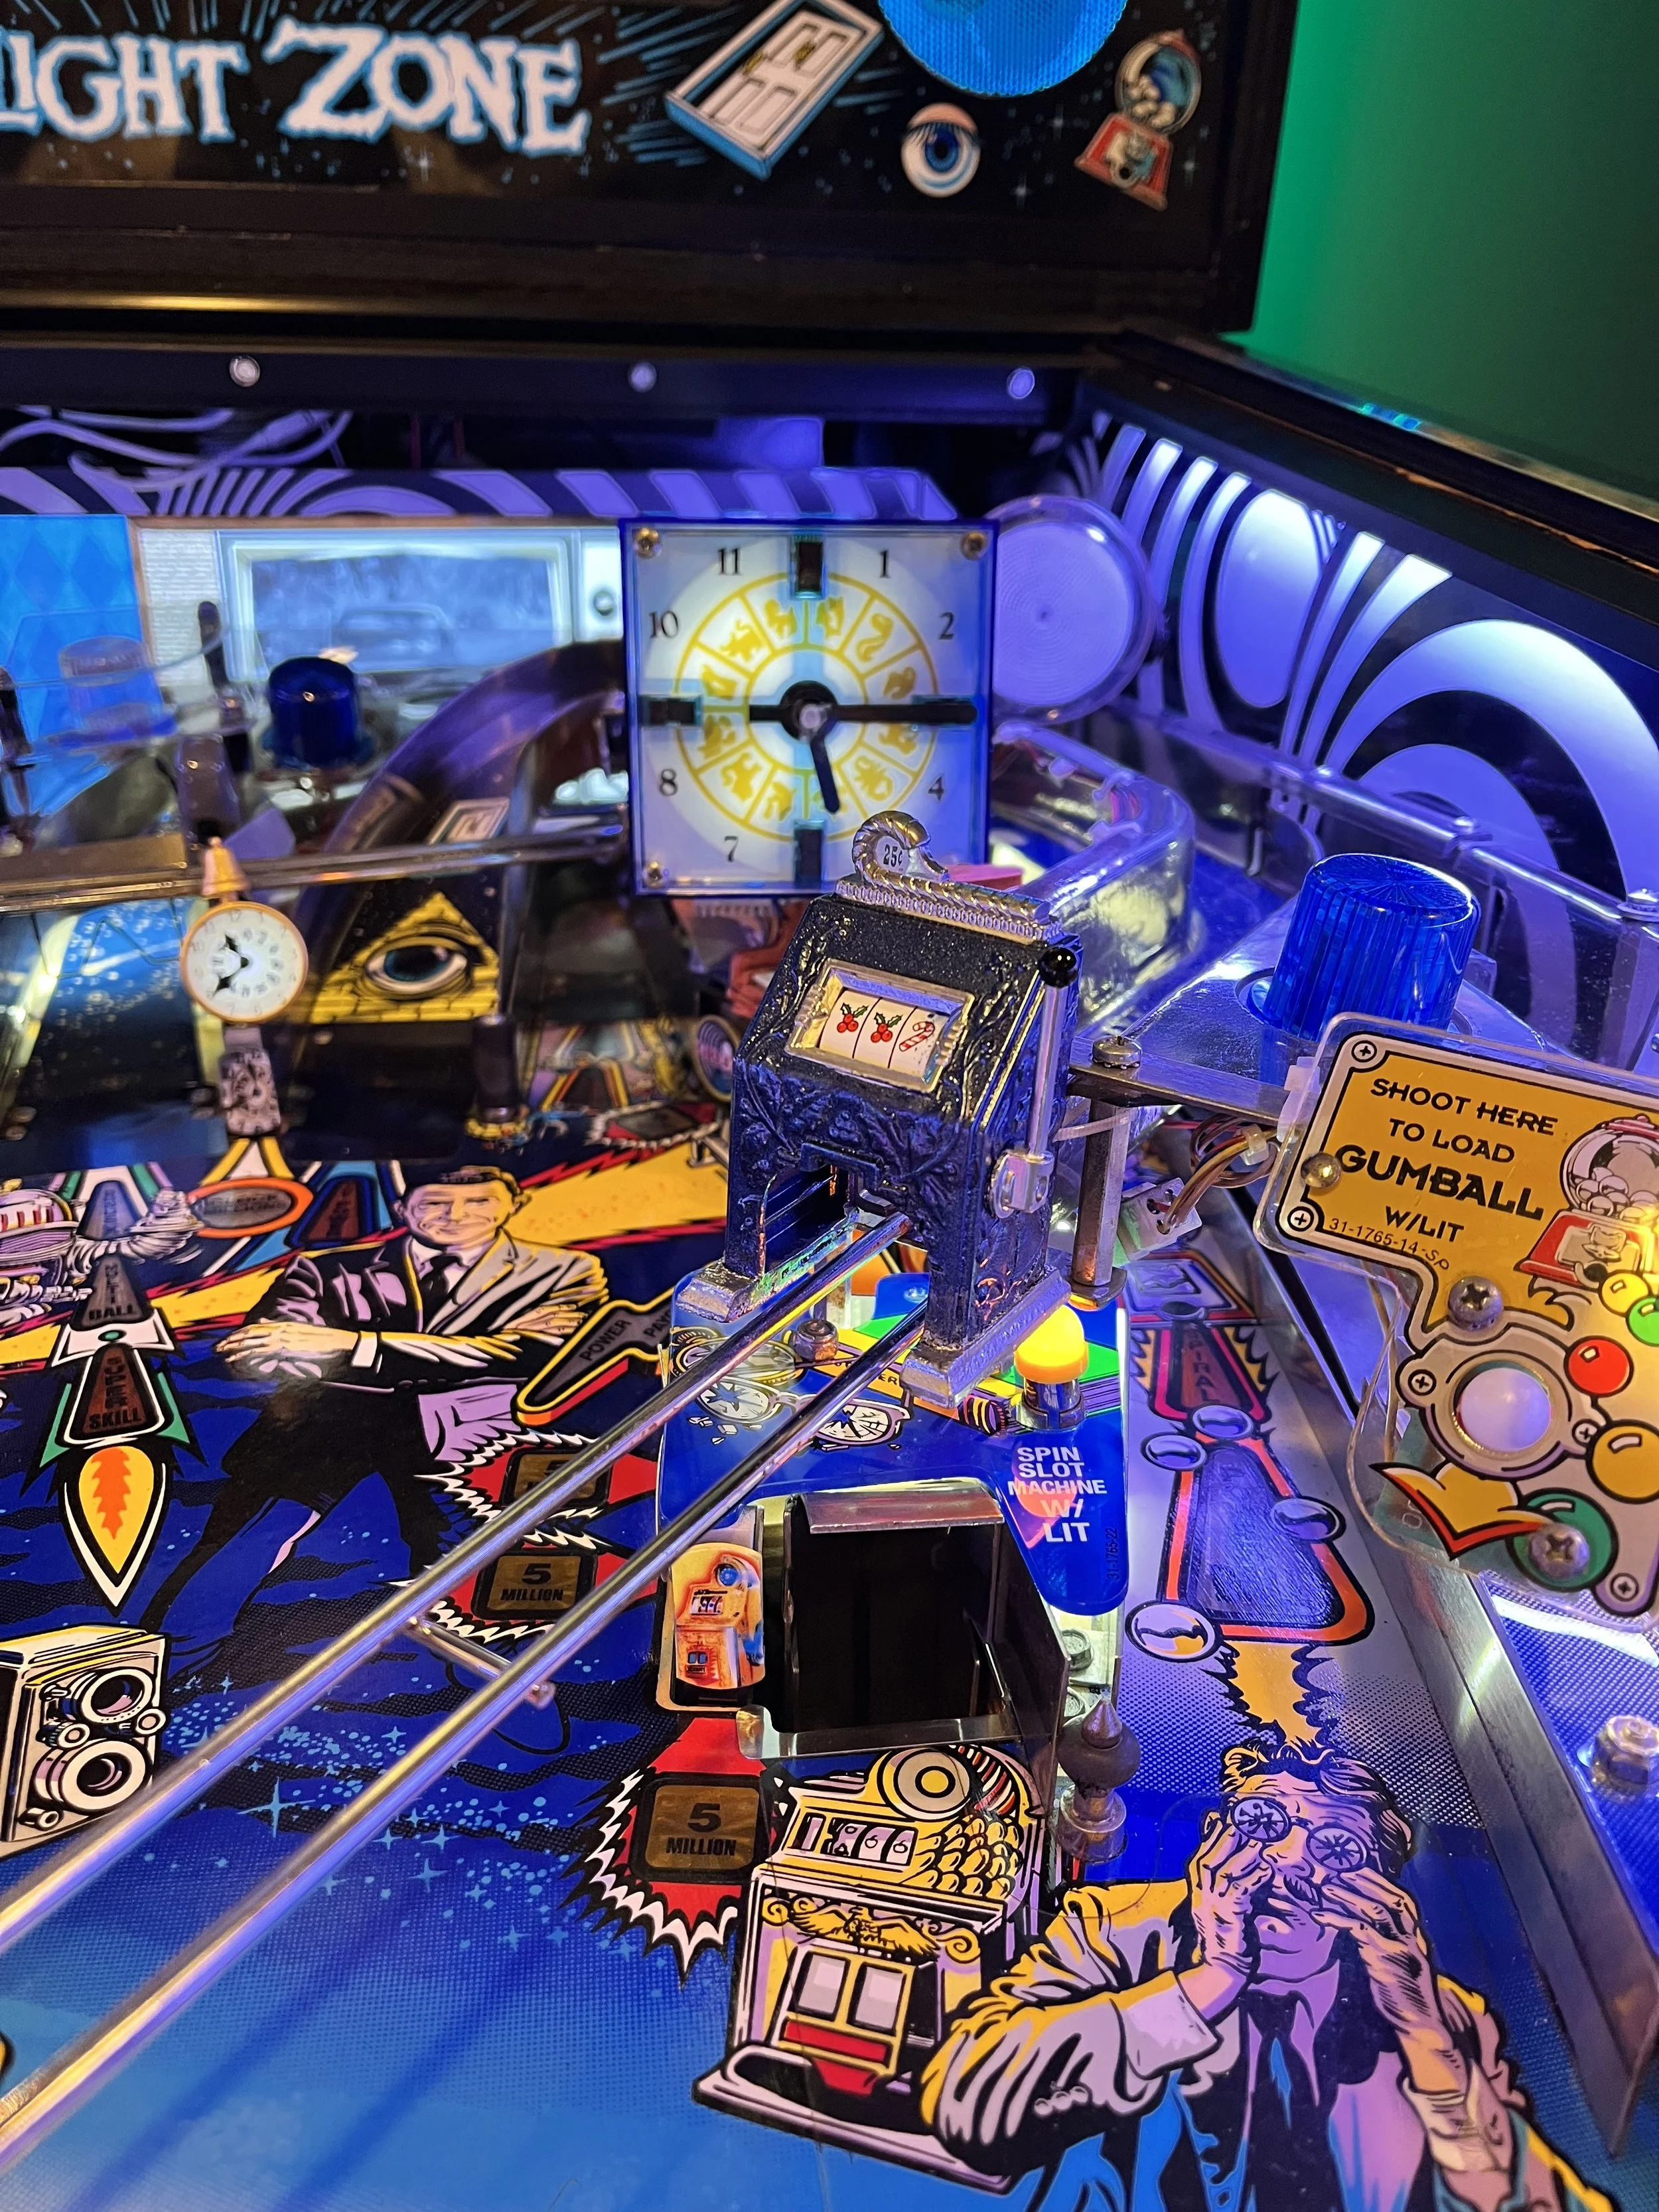
In the course of my mod hunt, I’d come across a bunch of cool slot machine mods but because these things were no longer being produced their costs had skyrocketed (if you could even find one at all). I simply couldn’t justify paying hundreds of dollars for something such as this, so instead I purchased a slot machine Christmas ornament, dusted off the trusty Dremel tool and got to work.
I started off by measuring the ball and outlining the cuts I’d make to create the pass through portion of the mod. I’d seen other examples where the reels spun as the ball traveled through the slot machine, but there was no way that was going to work with this ornament. So my task was certainly easier than others. I gutted the damn thing, sanded it, painted it, drilled small holes for a few well placed zip ties to secure it in place, and voila…a $30 slot mod!
Like every Twilight Zone owner, I knew I wanted to do something special with the clock but I’d read about all the issues with these things and was hesitant to take this thing apart. However, I’d finally found a blue clock housing from a previous owner on Pinside, and when it arrived I knew it was time to bite the bullet.
Truthfully, the assembly/disassembly was way more straightforward than I’d envisioned and as long as you take your time this really isn’t a difficult task. The one caveat is to make sure that you have both clock hands in the 12 o’clock position before you take anything apart, which will help ensure the gears are in the appropriate position when you reinstall everything. You can set these in the service menu before you take anything apart.
In addition to the new clock housing, I added a new LED clock board and white clock face insert that I felt gave it a cooler overall appearance. Buttoned everything up, turned on the power and up came the dreaded “clock failure” error on screen. Shit, I knew this wasn’t going to be this easy!
After some testing, I realized the clock hands weren’t fully tripping the optos as they passed through, but if I pushed on the front housing ever so slightly they’d move a tad bit closer and everything worked again!
Side note: the fix to this is actually well documented on the Twilight Zone owner’s forum on Pinside. I’d love to give a shout-out to the original poster but I can not find their name online and I’ve since deleted our direct chat conversation, but if you’re out there please reach out so we can give you some love!
In short, what I did to fix the situation was cut a very small, clear plastic post and super glued it directly to the front of the clock housing. When installed the post puts a very small amount of pressure on the clock hands and pushes them closer to the clock board, which helps ensure the optos register as the hands pass through.
The glue dries quickly, so be careful with your placement otherwise you will smudge the plastic and will be forced to stare at an unsightly blob in the middle of your clock every damn game. Ask me how I know. I bought three extra clock fronts for this very reason, one came out pretty good.
After that fiasco, I needed to move back into some simpler tasks, so I added a cool plasma disk mod I found on eBay and a new shooter plate and shooter rod to match. The shooter rod is from the talented folks over at Super Skill Shot Shooters and is listed as a Back to the Future mod, but I dug the look and yeah…more spirals. The added weight did also require me to upgrade the shooter spring as well, but that’s an easy fix.
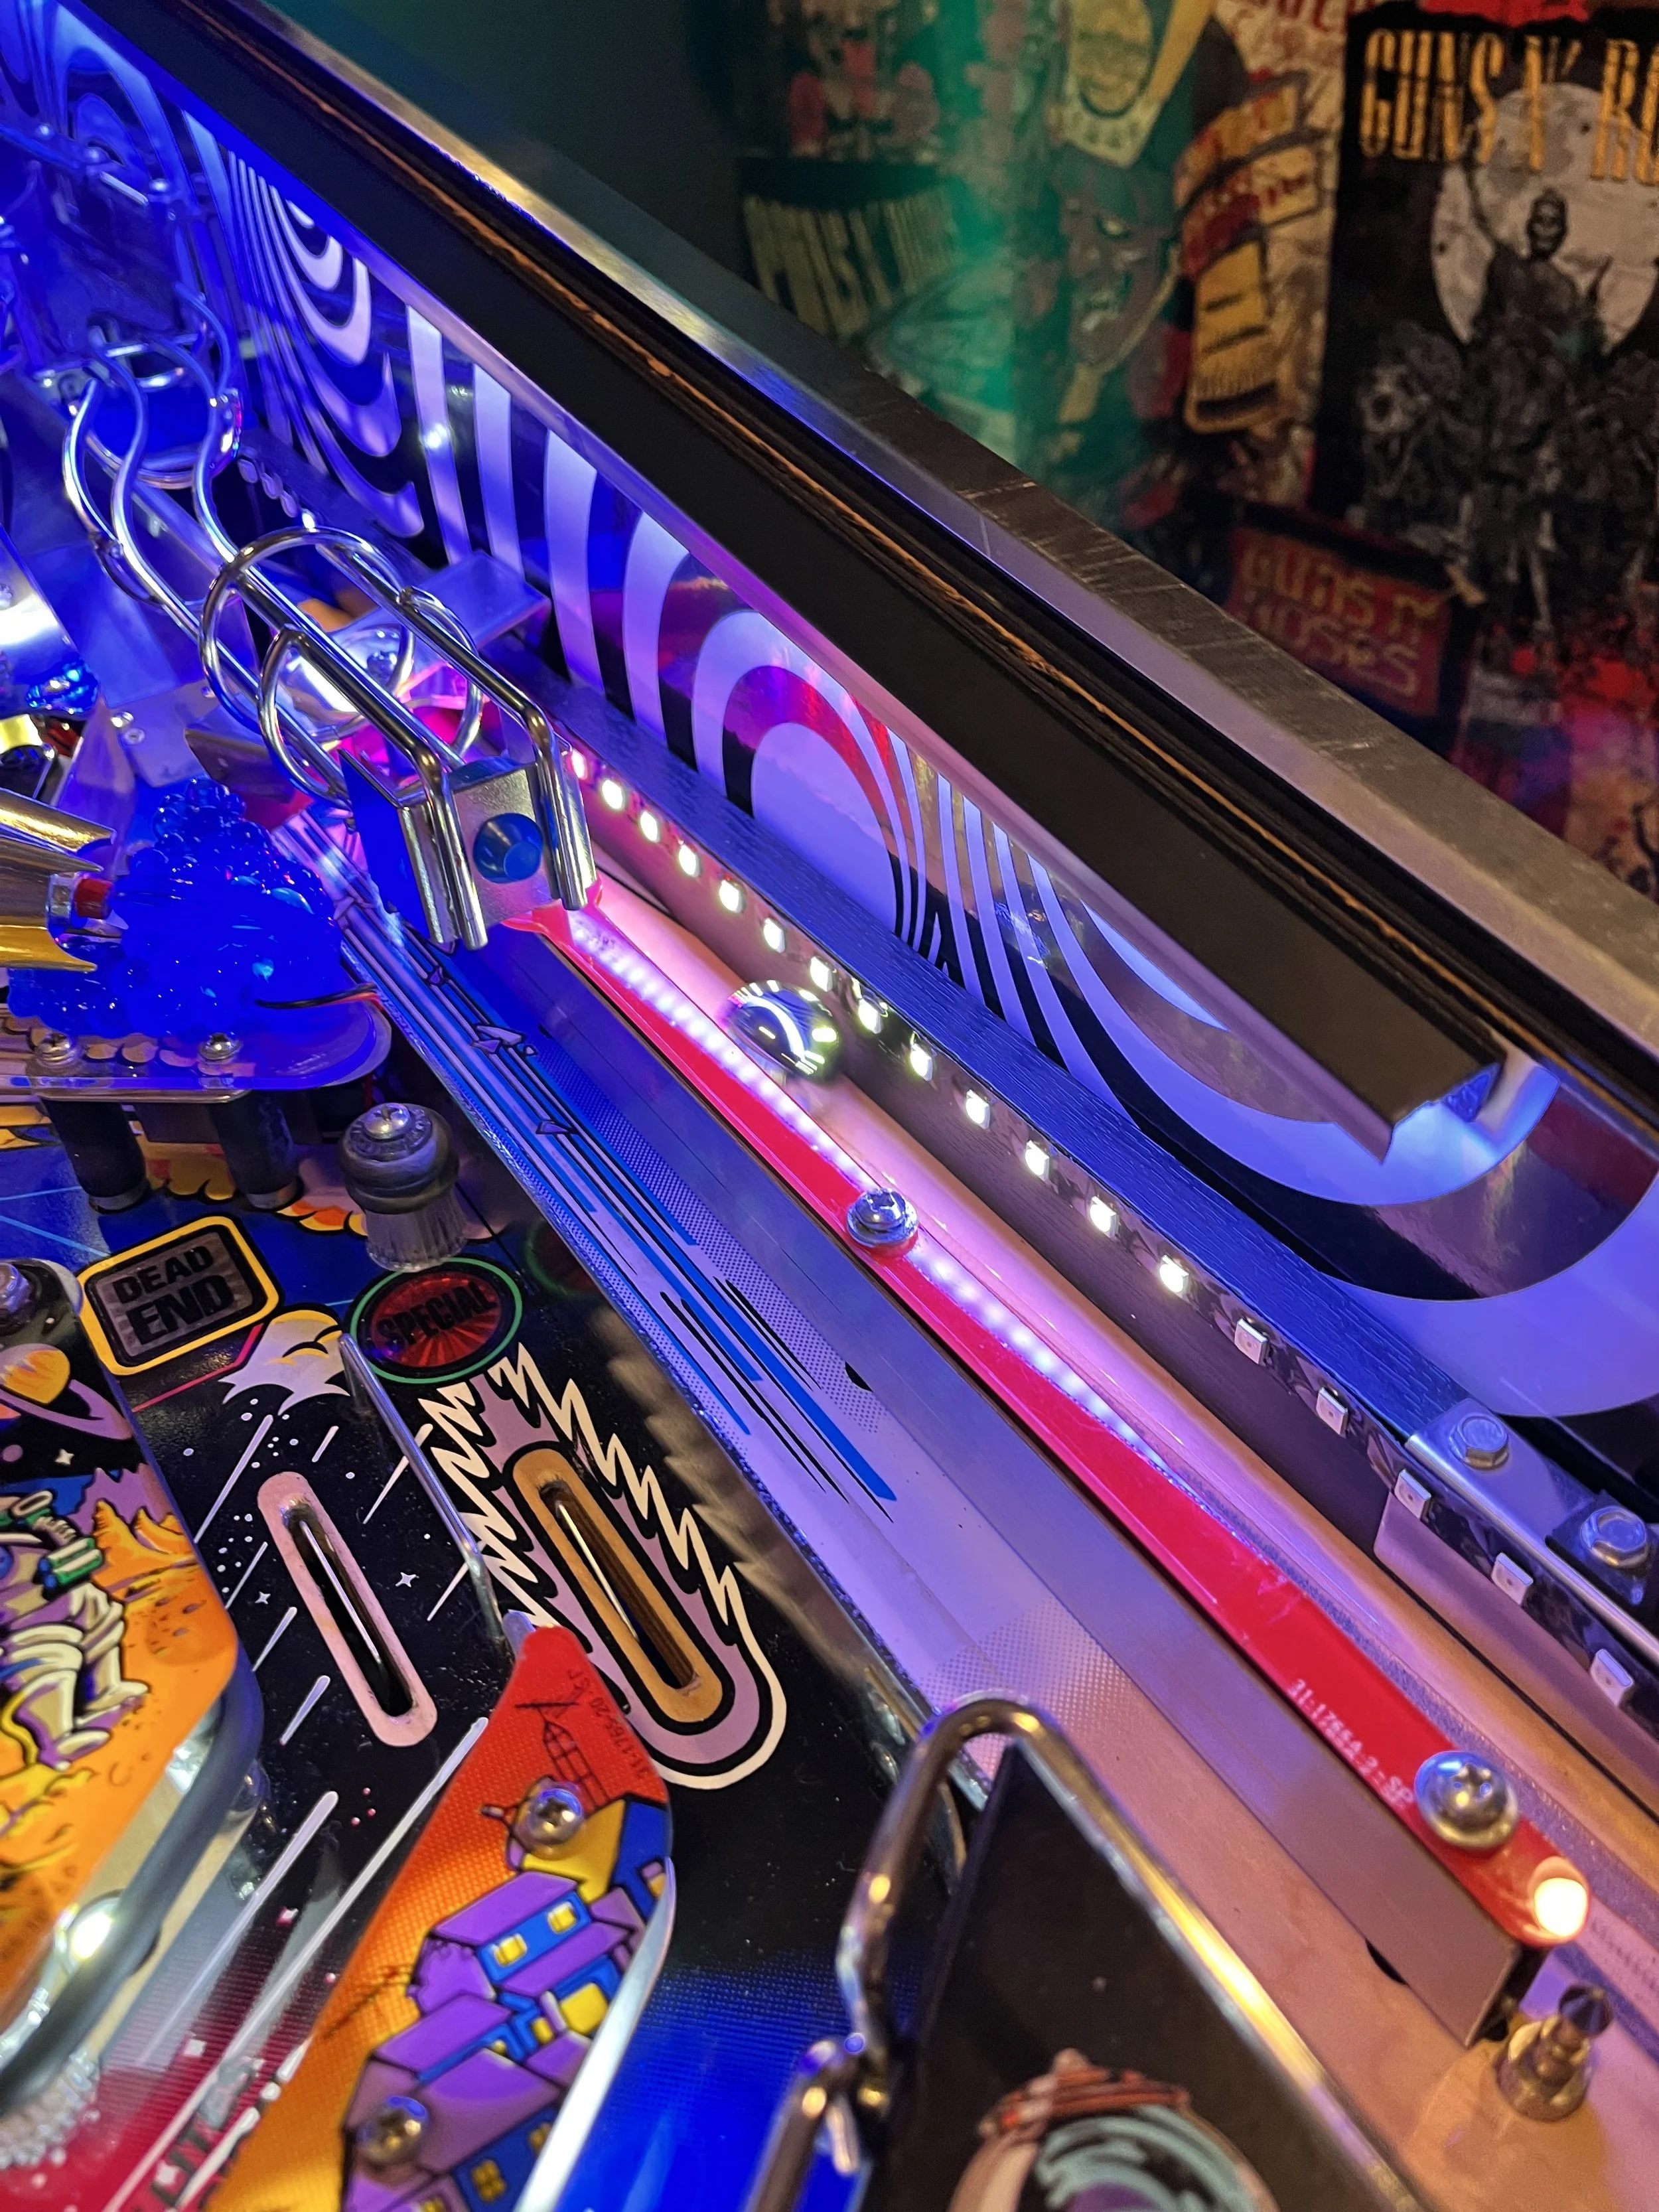
I also installed a custom strobe LED strip to the shooter lane from the good folks at Pinball Pro, which creates a cool tracer effect any time you launch the ball. I personally dig the effect but I can’t lie and say it hasn’t created some unnecessary headaches as well. The LEDs don’t adhere too well to the side and the controller box is a bit cumbersome and can block balls getting into the shooter lane if you’re not careful with your placement during installation.
I knew I wanted to add some flair to the gumball machine, but I also didn’t want to be one of the suckers that was shelling out $30-$40 for some plastic gumballs to put in there! Instead, I bought 50 pachinko balls from eBay for $5. If I did it again, I think I’d order 100 to fill it up a bit more. At one point, I also had a dazzler light kit added to the gumball but I had to remove it because it was putting too much stress on the power board. More on that later.
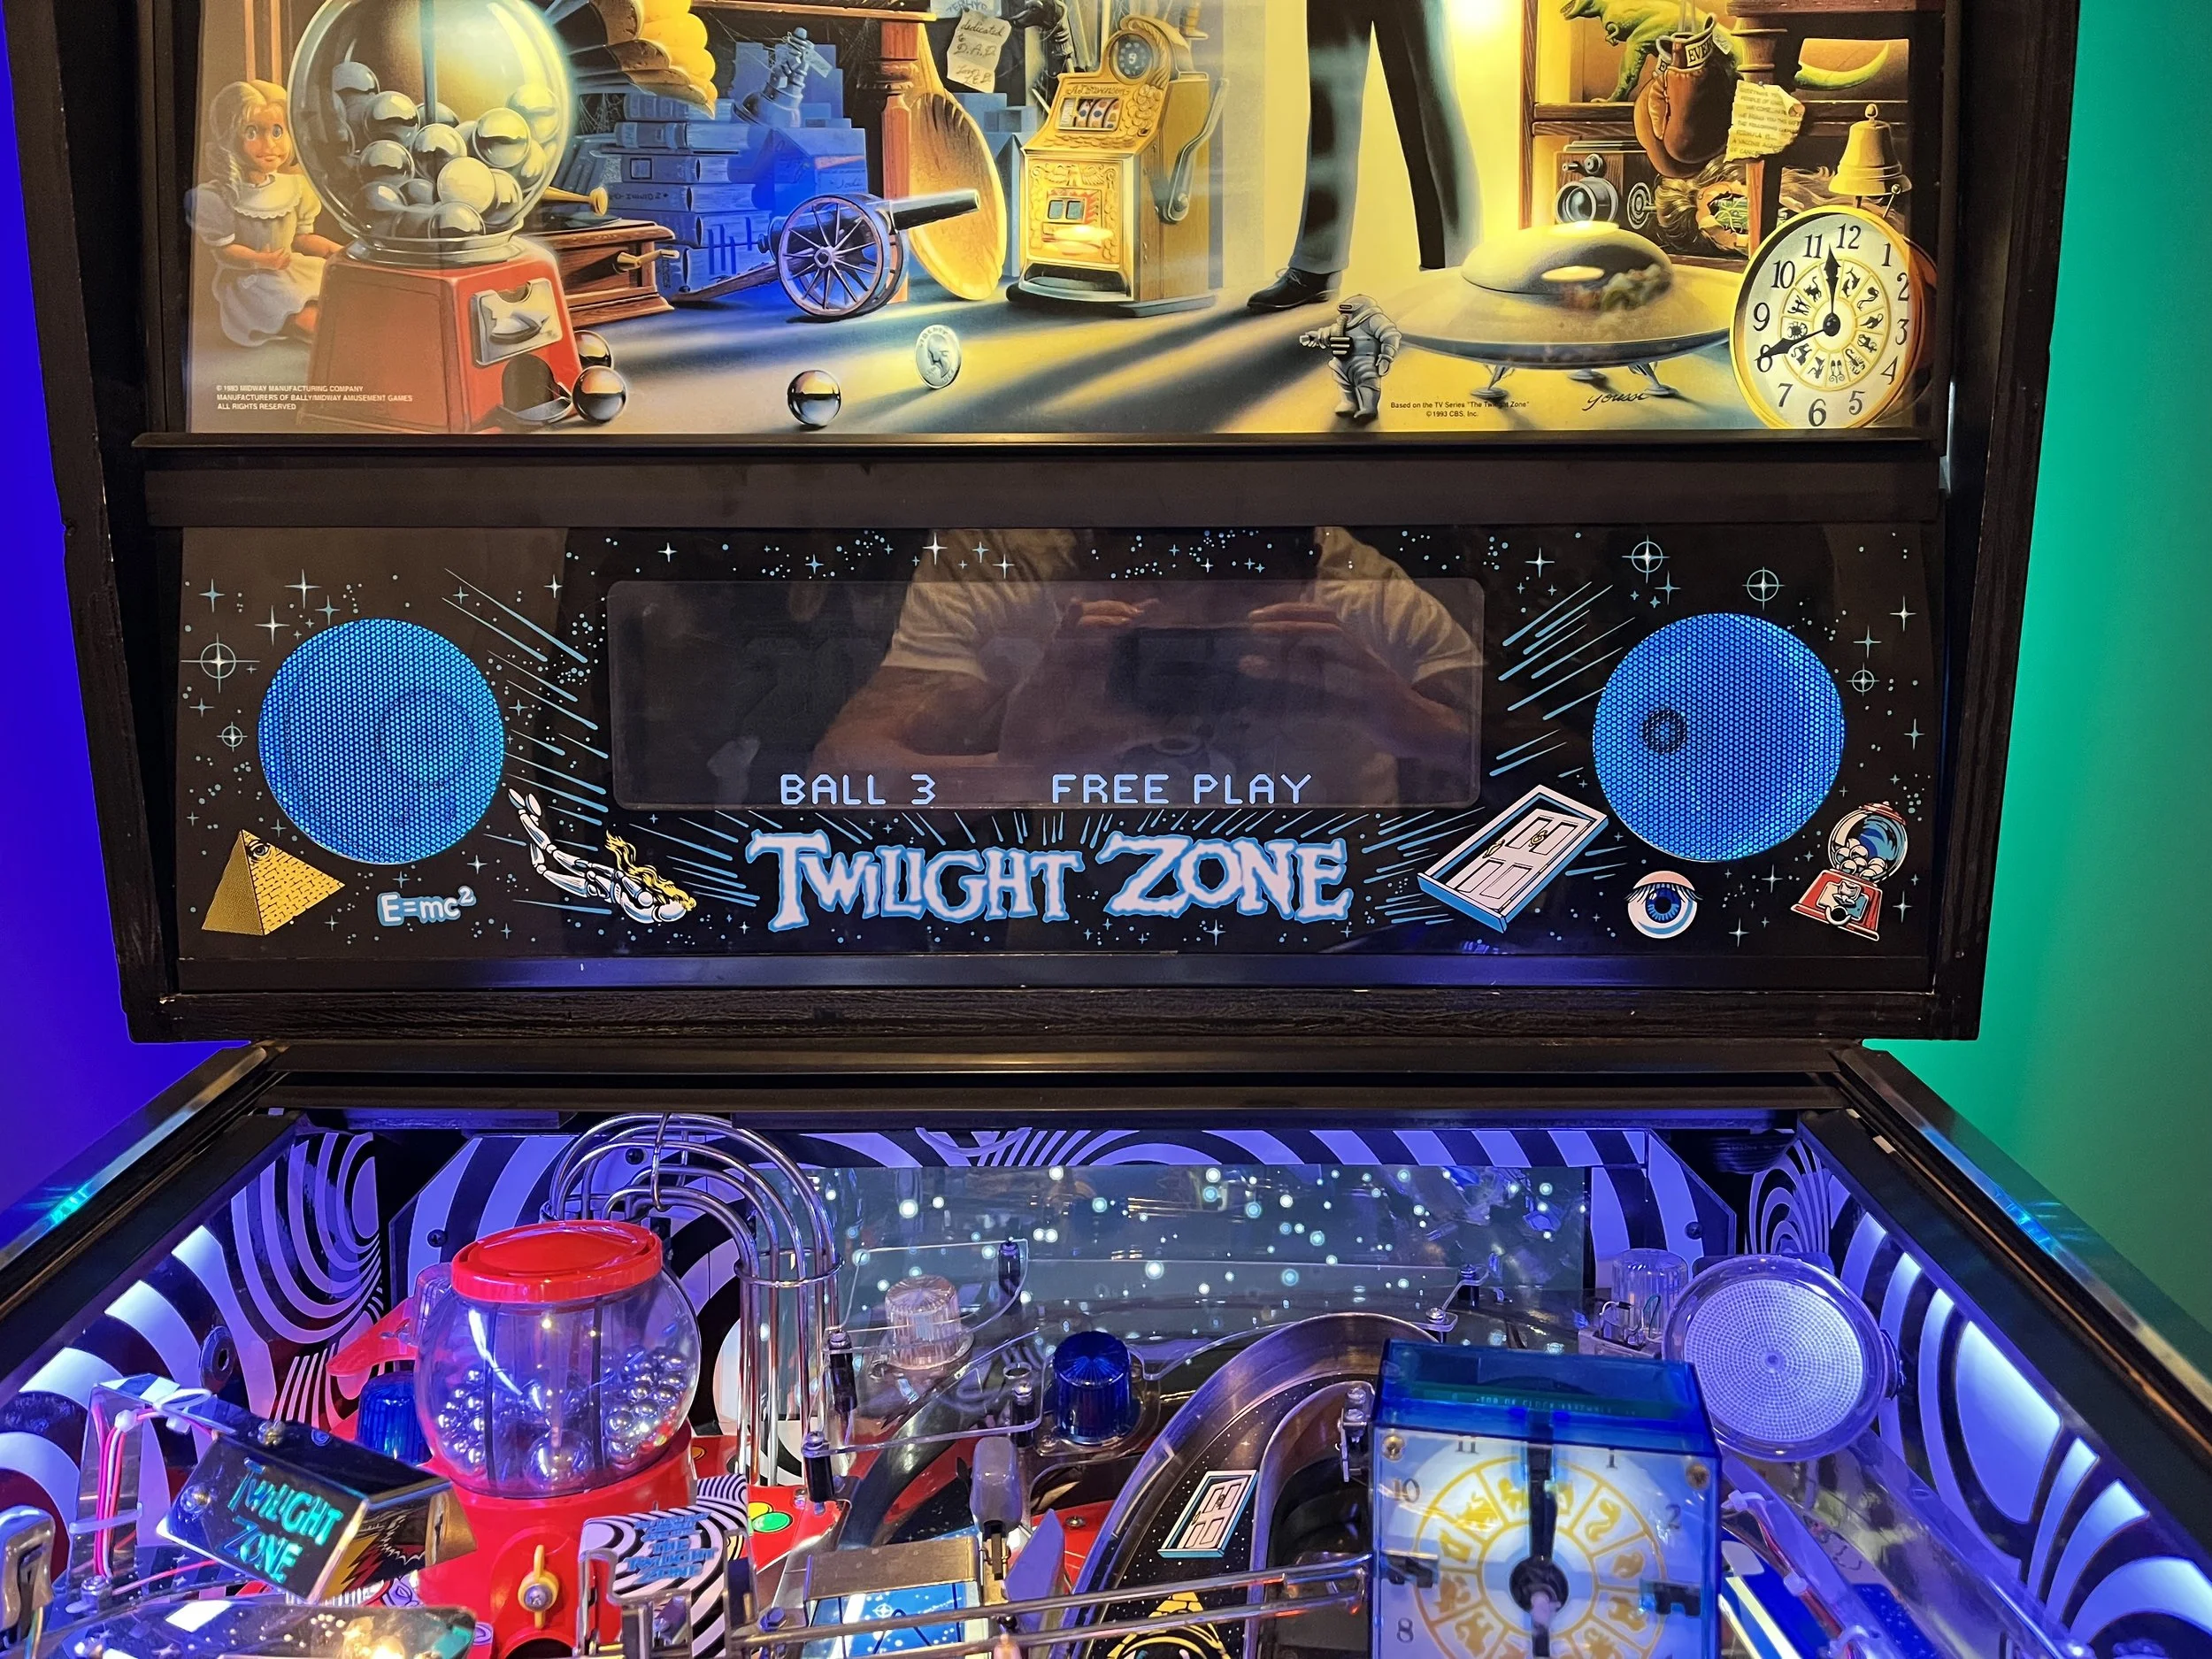
When I purchased the plasma pop bumpers from Lighted Pinball Mods, I’d also placed an order for their speaker light kit and lighted flipper buttons. The flipper buttons were an easy install. The speaker kit was a bit more intense.
The major issue I experienced with the speaker light install was the fact that you have to transfer all the original parts over to a custom speaker panel that they’d made with larger speaker holes. This gives the game a more symmetrical look, which I appreciate cause I’m crazy.
However, I had a hell of a time removing my original speaker panel artwork and did have a few instances where the artwork came off entirely. Thankfully, those spots were easily hidden by the new back panel and aren’t noticeable when everything is installed.
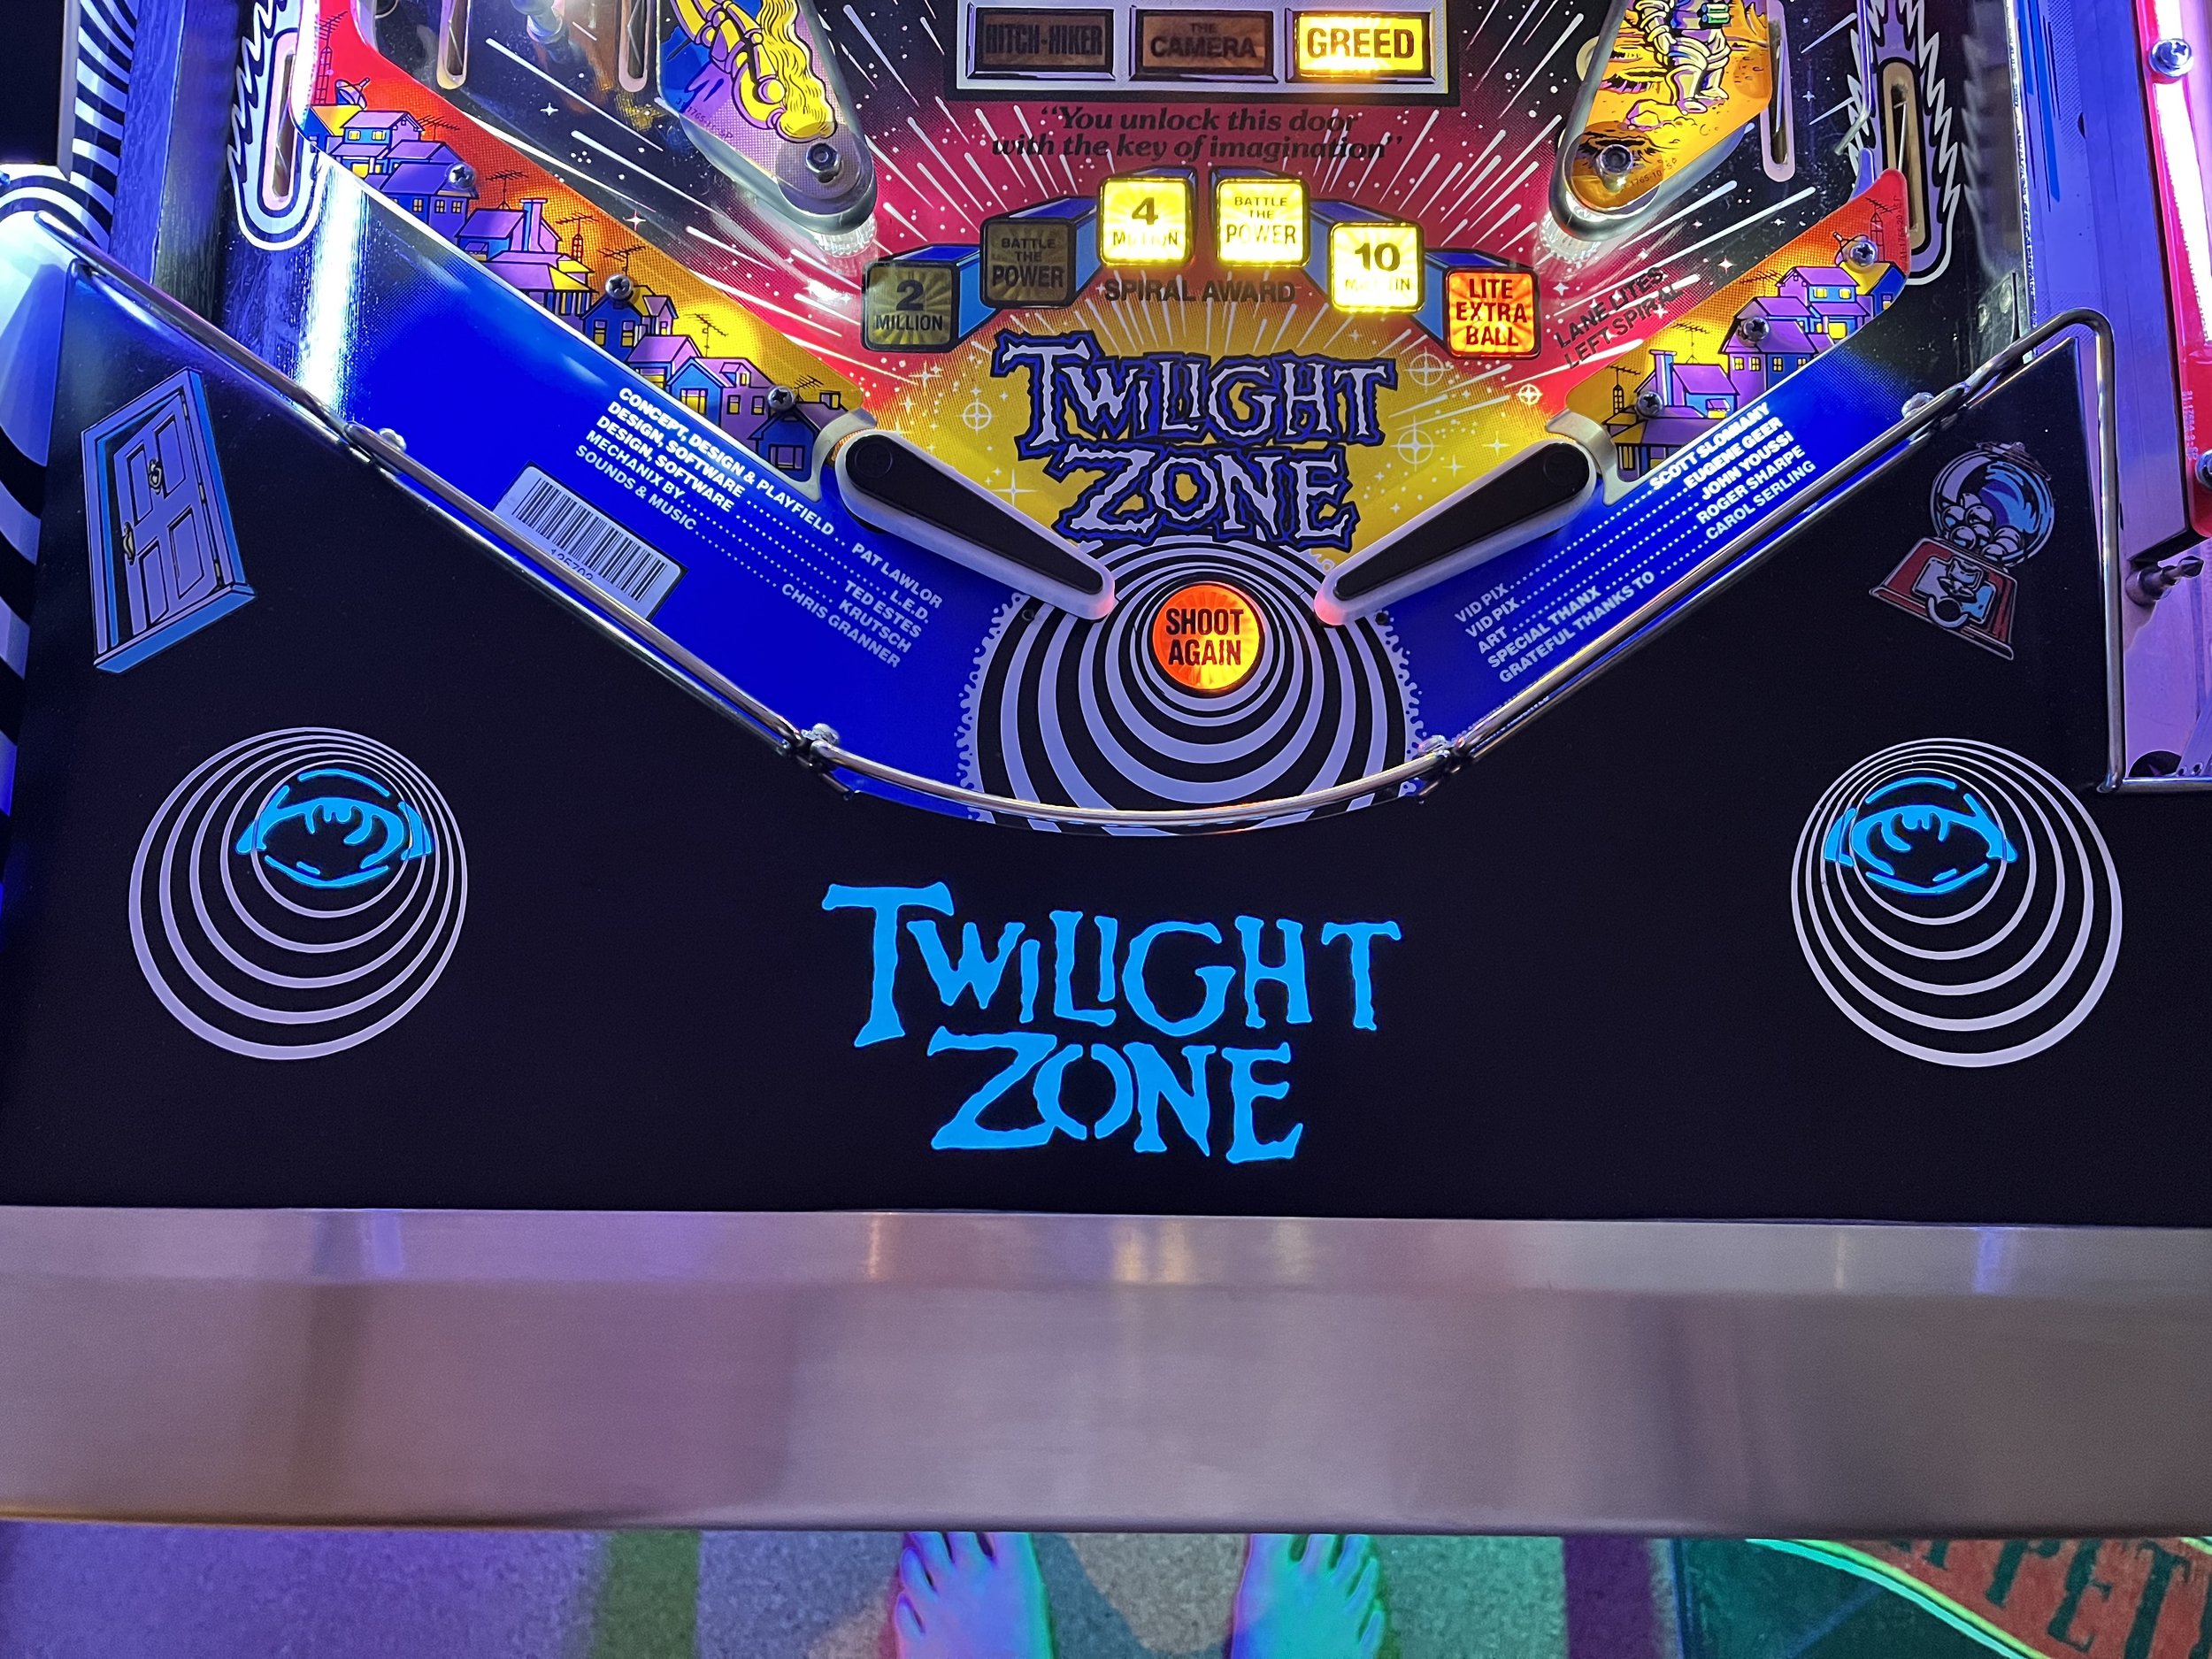
One of my favorite add-ons to this game is the custom apron I found on Facebook of all places! These were originally made in Germany and have been deemed “unobtainium” in the last few years, so when I saw one pop up I snagged it. Problem was, when I took ownership of it I came to find out the damn thing didn’t work. In fact, it was dead as shit!
I knew fixing it was beyond my skill set, so I took it to my good friends at CP Pinball in Roxanna, IL and their ace technician, James, was kind enough to help a brother out. He started by testing it on his Star Trek the Next Generation since it had a similar apron installed and was a Bally game of the same era. He unplugged the working apron, plugged in the POS I bought and proceeded to blow several fuses. After a few more tests, we ultimately called it. The patient was dead and was not going to be resuscitated.
So what I thought was a cool, one of a kind mod was really a glorified paperweight. Therefore, I did what any reasonable modder would do and I gutted the thing! I removed all the lighting elements, glass, and instead put some E.L. (i.e. electroluminescent) foil behind the cutouts to give it a cool glowing effect. If you don’t know what this stuff is just go to any local rave and you’ll see all sorts of examples on display in people’s crazy outfits!
The only downside to this approach is that currently the lighting is powered from a separate power supply, which means it has to be turned on manually. I’m working on a fix for that though.
More easy add-ons, replaced all the flasher covers with either clear or blue plastics to continue the color theme I was creating. Replaced the key lock with a keyless manual version because my kid is a little psycho and likes to hide shit!
I also installed lighted star posts from Comet Pinball throughout the Power playfield, which seemed like a daunting task at first since it required removal of the playfield itself. However, this is actually a very simple procedure and only requires the removal of a few screws and the major wiring harness underneath. Once the playfield was removed, installing the new posts is a pretty simple task.
Next up, 86Pixels PinVision interactive backboard. I gotta say, I love this thing! The added animations really give the game a nice, modern touch, but they’re not so in-your-face as to distract you from the gameplay. After a few balls, it really starts to blend in nicely to the background and feels like a very natural element of the game. However, I’m still hoping someone will come up with some new animations to add to the existing package. I’m a little tied up at the moment if you can’t tell!
The original PinVision ships with a starry sky-printed protection shield, but I added a spiral decal over it to match the side art. I put the decal over the entire shield and simply cut around where the monitor was going to be displayed.
Now for a controversial add-on: Pinstadiums. Real talk, has there been another mod that’s divided the pinball community more?!
Personally, I’ve always appreciated Scott’s efforts to improve his product and his attention to customer service is second to none, so it was never a question of whether I was going to add these but rather when and what kind to get. After a quick consult, I ordered a set of Neos and as always I’m very happy with the end result. The UV effect is especially cool and really pops with the black and white spiral background and side art!
And what’s the point of adding more lighting inside the game if it’s isn’t matched outside as well, right? So I went ahead and added some undercab LEDs and backbox LEDs to match.
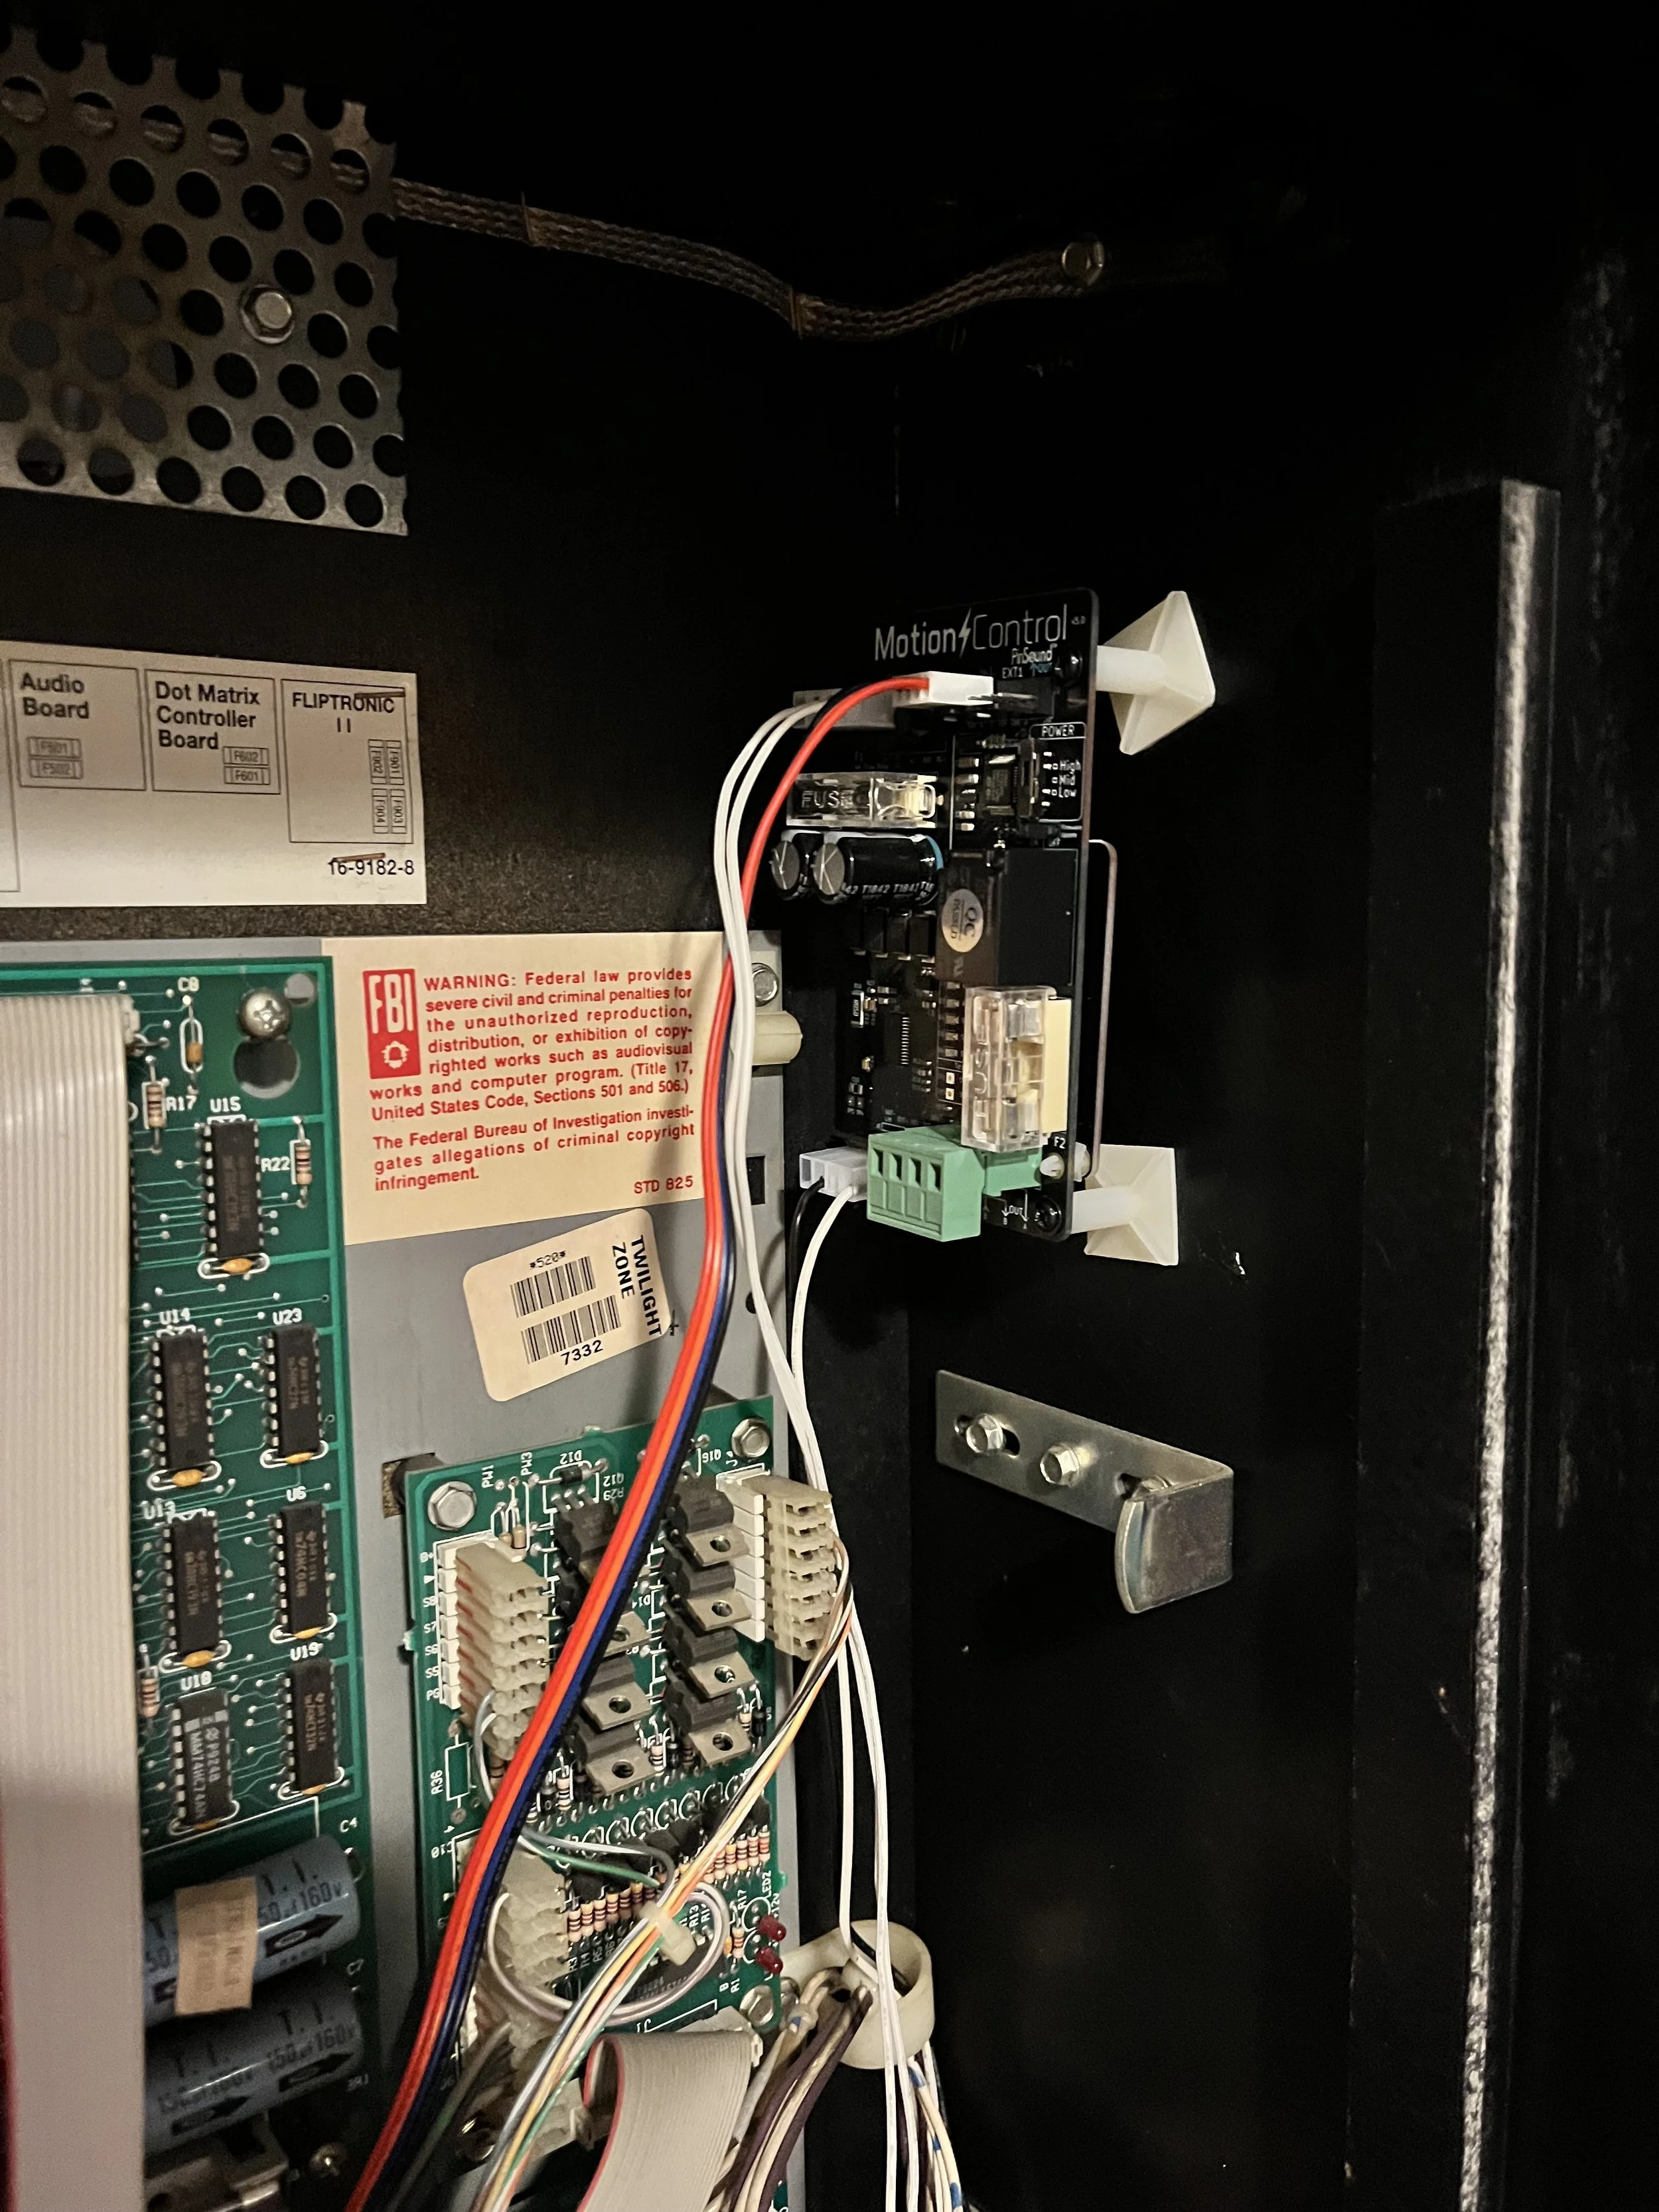
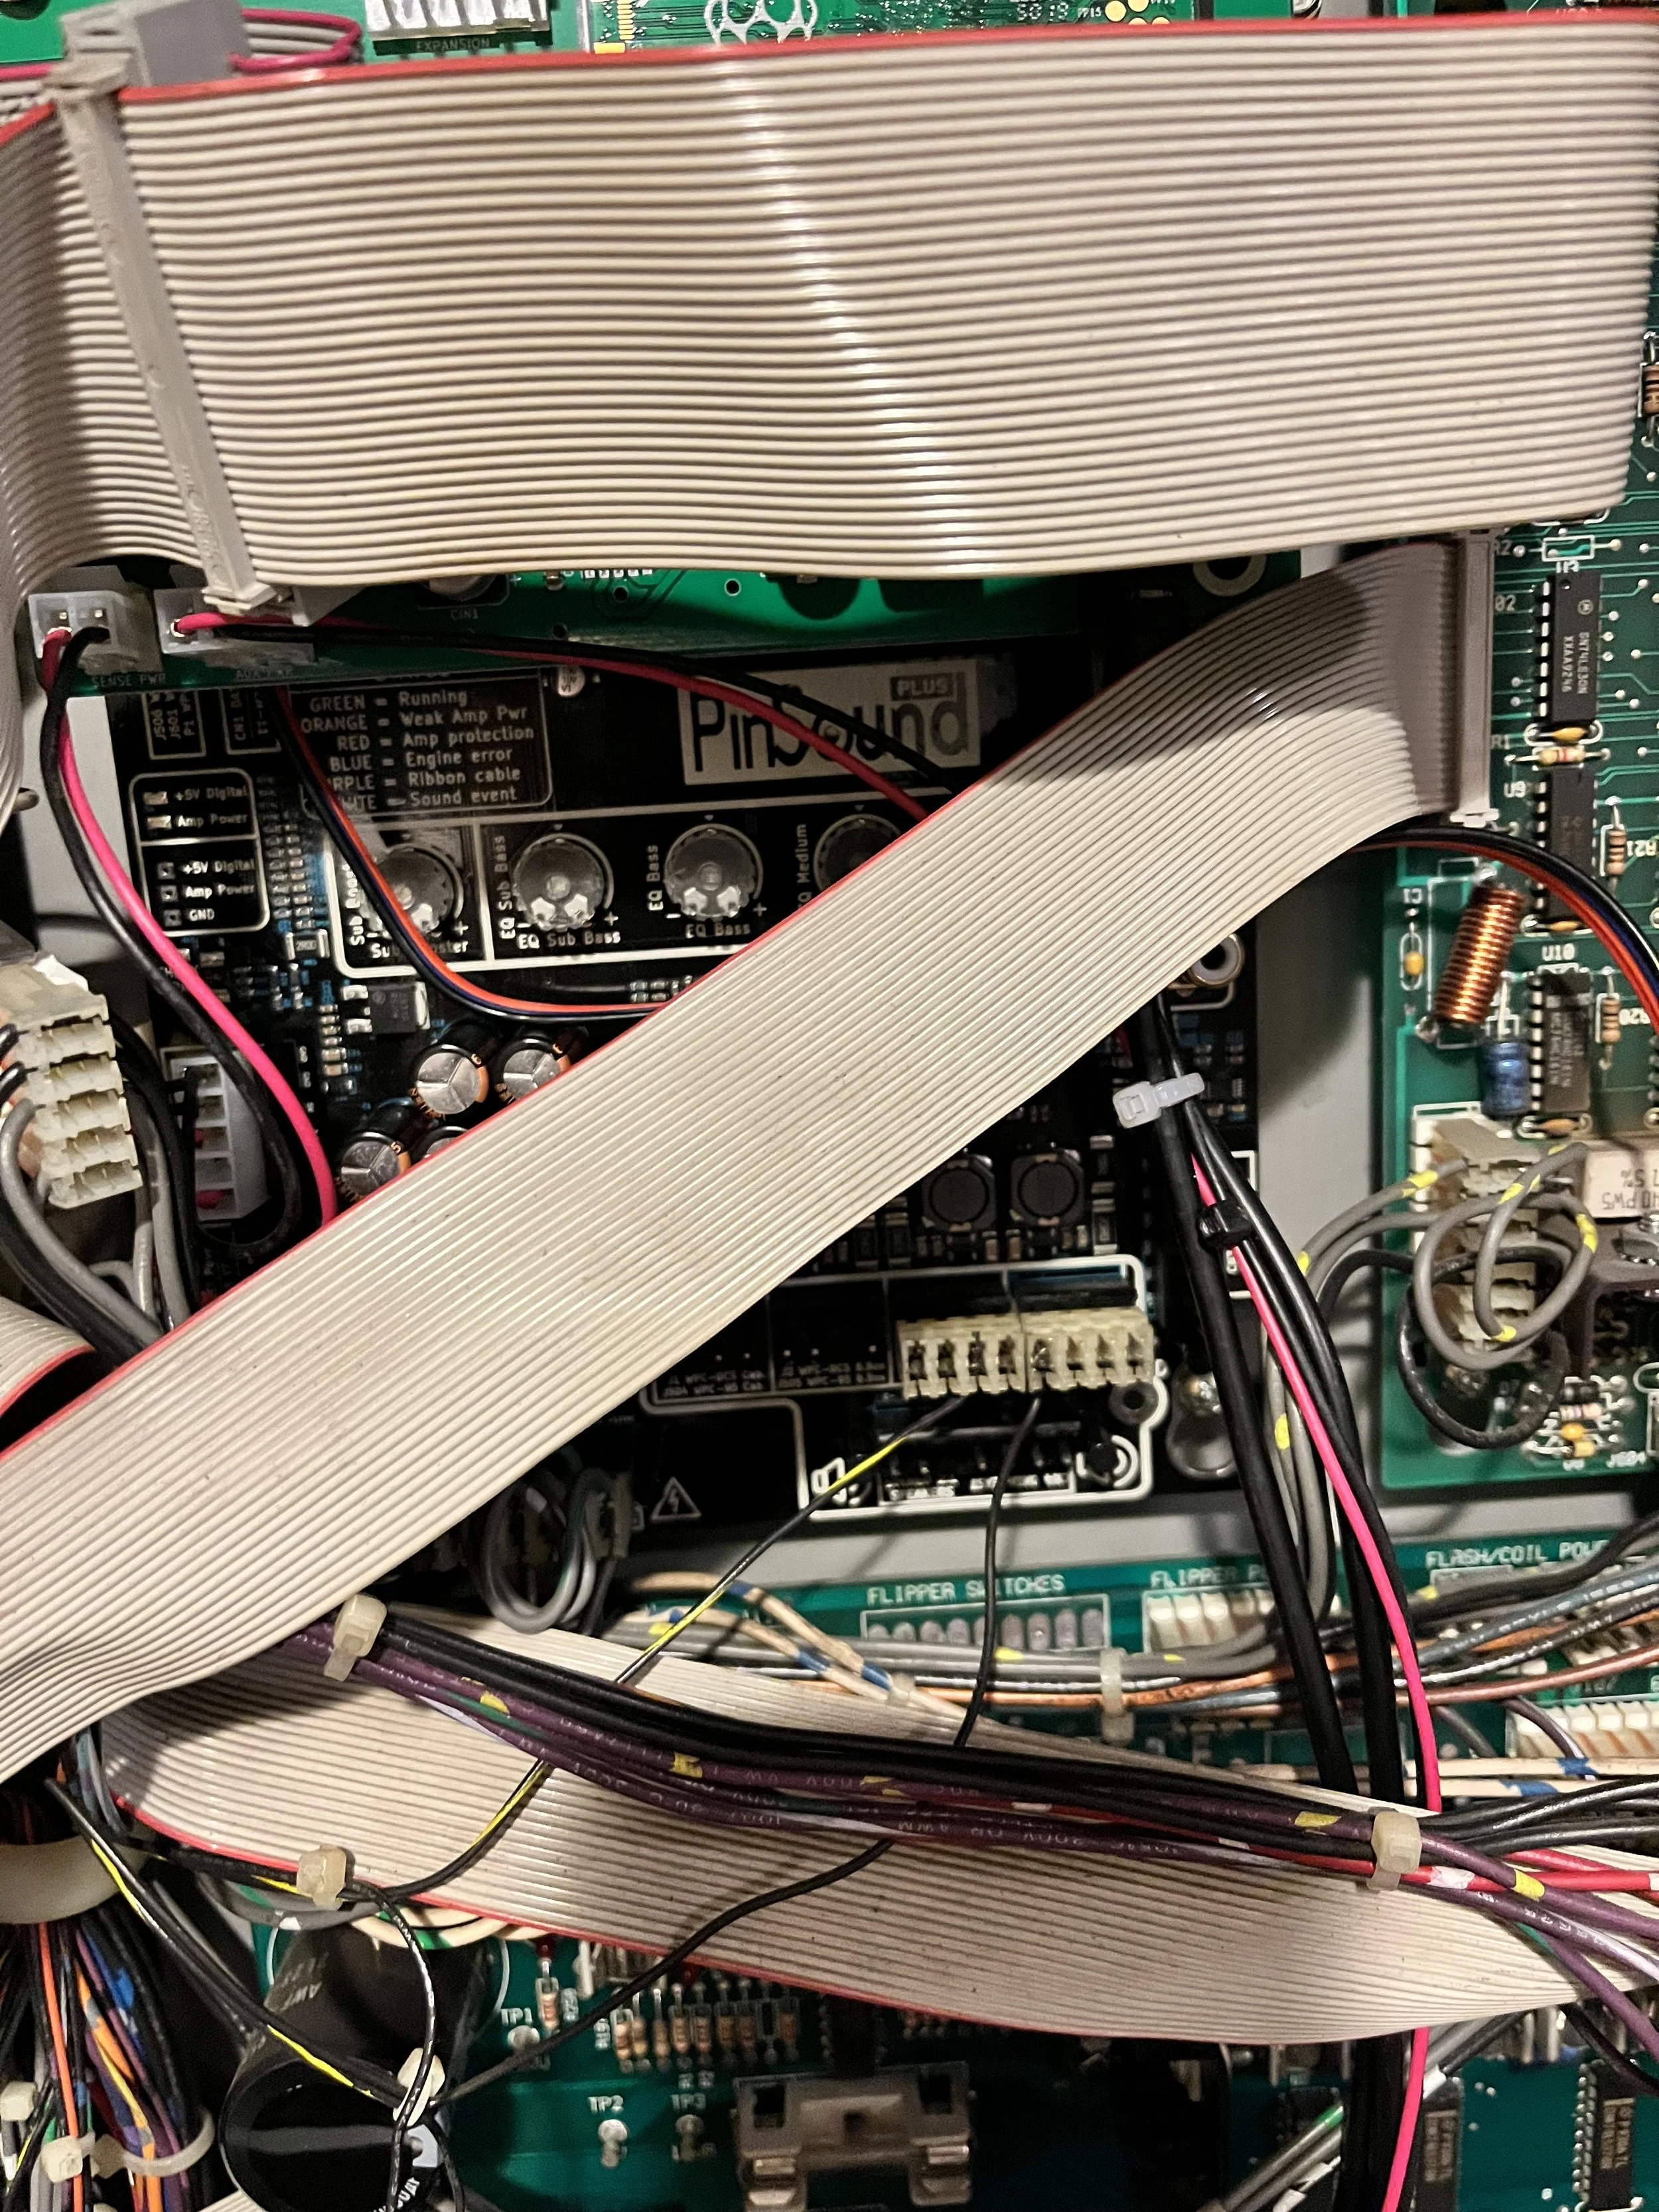
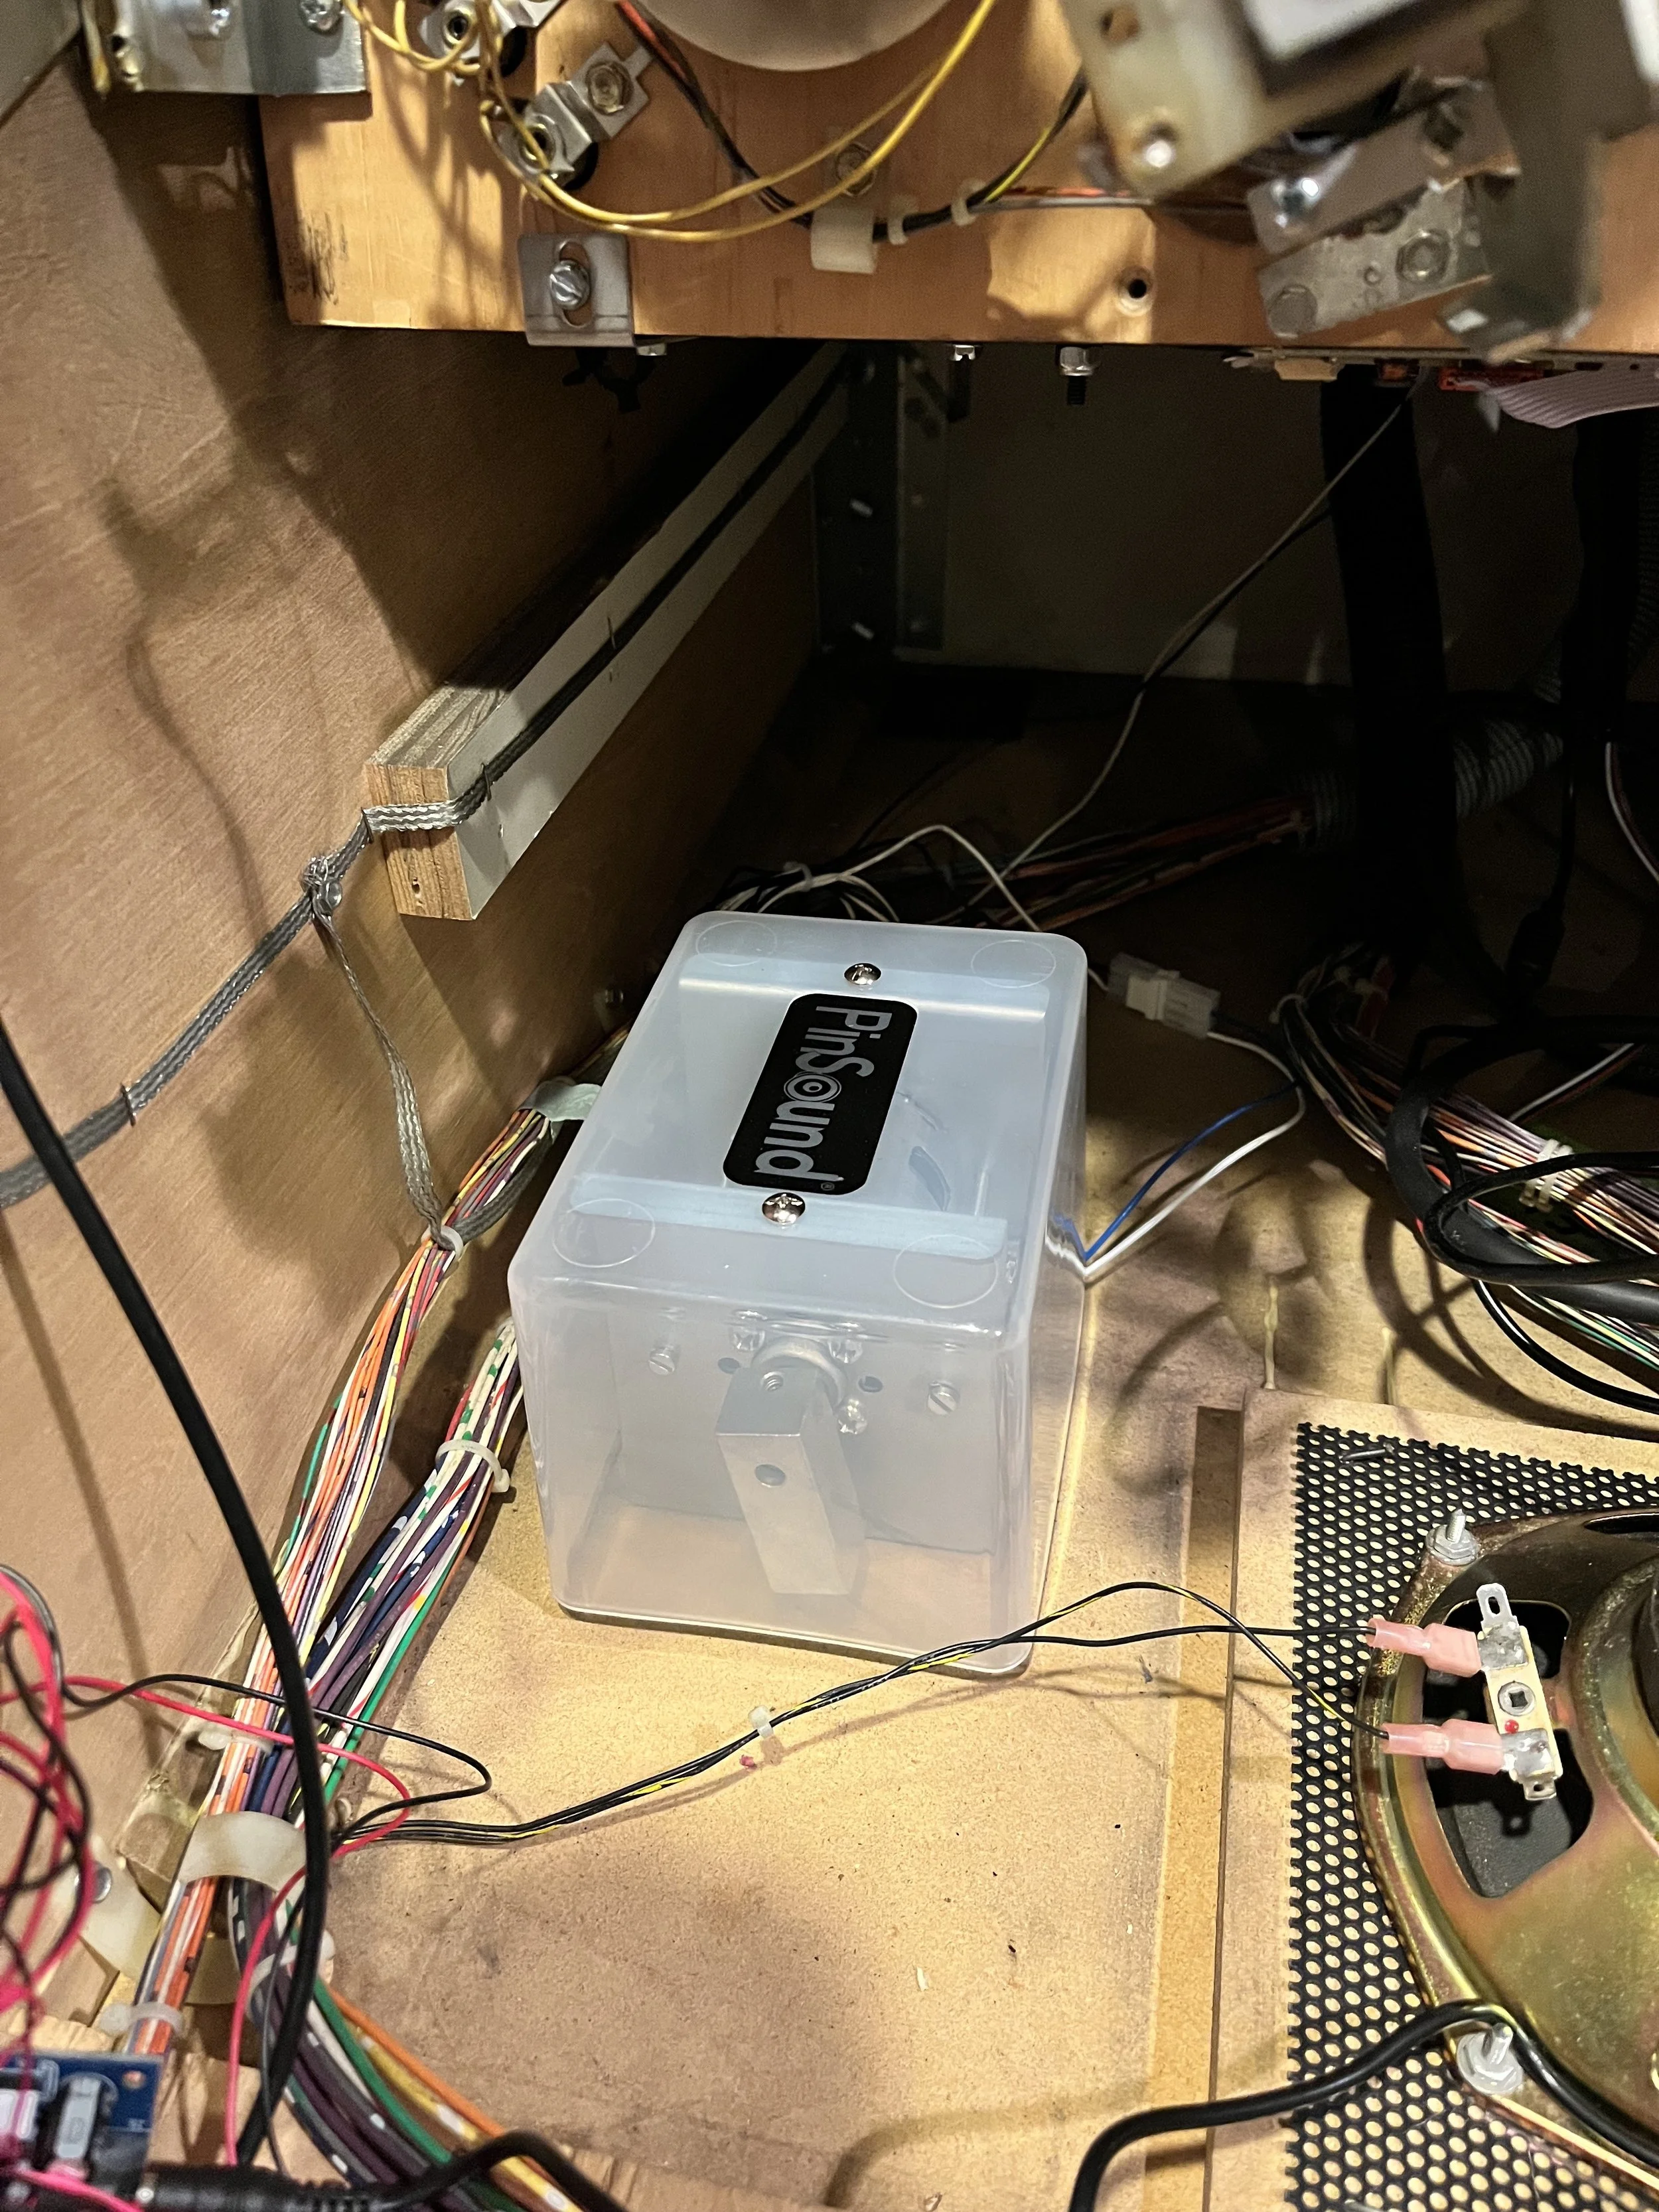
Most recently, I added a new Pisound sound board and shaker kit. I’d seen some videos of the alternative sound packages and I liked the idea of having the option to customize the music and sound effects in the game. Plus, the idea of having a shaker fire off during the Powerball Multiball was intoxicating!
Relatively easy install process on both accounts and kudos to the Pinsound team for their awesome (seemingly idiot proof!) installation tutorials! At first startup, I did have an issue with the sound not coming on, but I learned fairly quickly that you have to jack up the volume on the new set up if you’re using your original speakers.
What I failed to know when buying the kit is that the new board pretty much necessitates that you also upgrade your speaker hookups so that they’re wired for stereo sound. The original mono setup sounds like hot garbage. I’ve since ordered the upgraded 2.1 speaker wire kit and will be installing that later this weekend.
Regardless of the audio quality, I have been messing around with the various sound packages available currently on Pinsound’s community forum, and while the new packages are certainly cool I have yet to find one that I really feel has lasting staying power. It’s a good thing you can easily revert back to the original soundtrack whenever you want, but I’m keeping my fingers crossed that someone will create something truly magical soon!
Now remember that issue I was telling you about my power board, well what I failed to know when I started this build was how fickle these things can be when adding a bunch of aftermarket parts. Simply put, it doesn’t work!
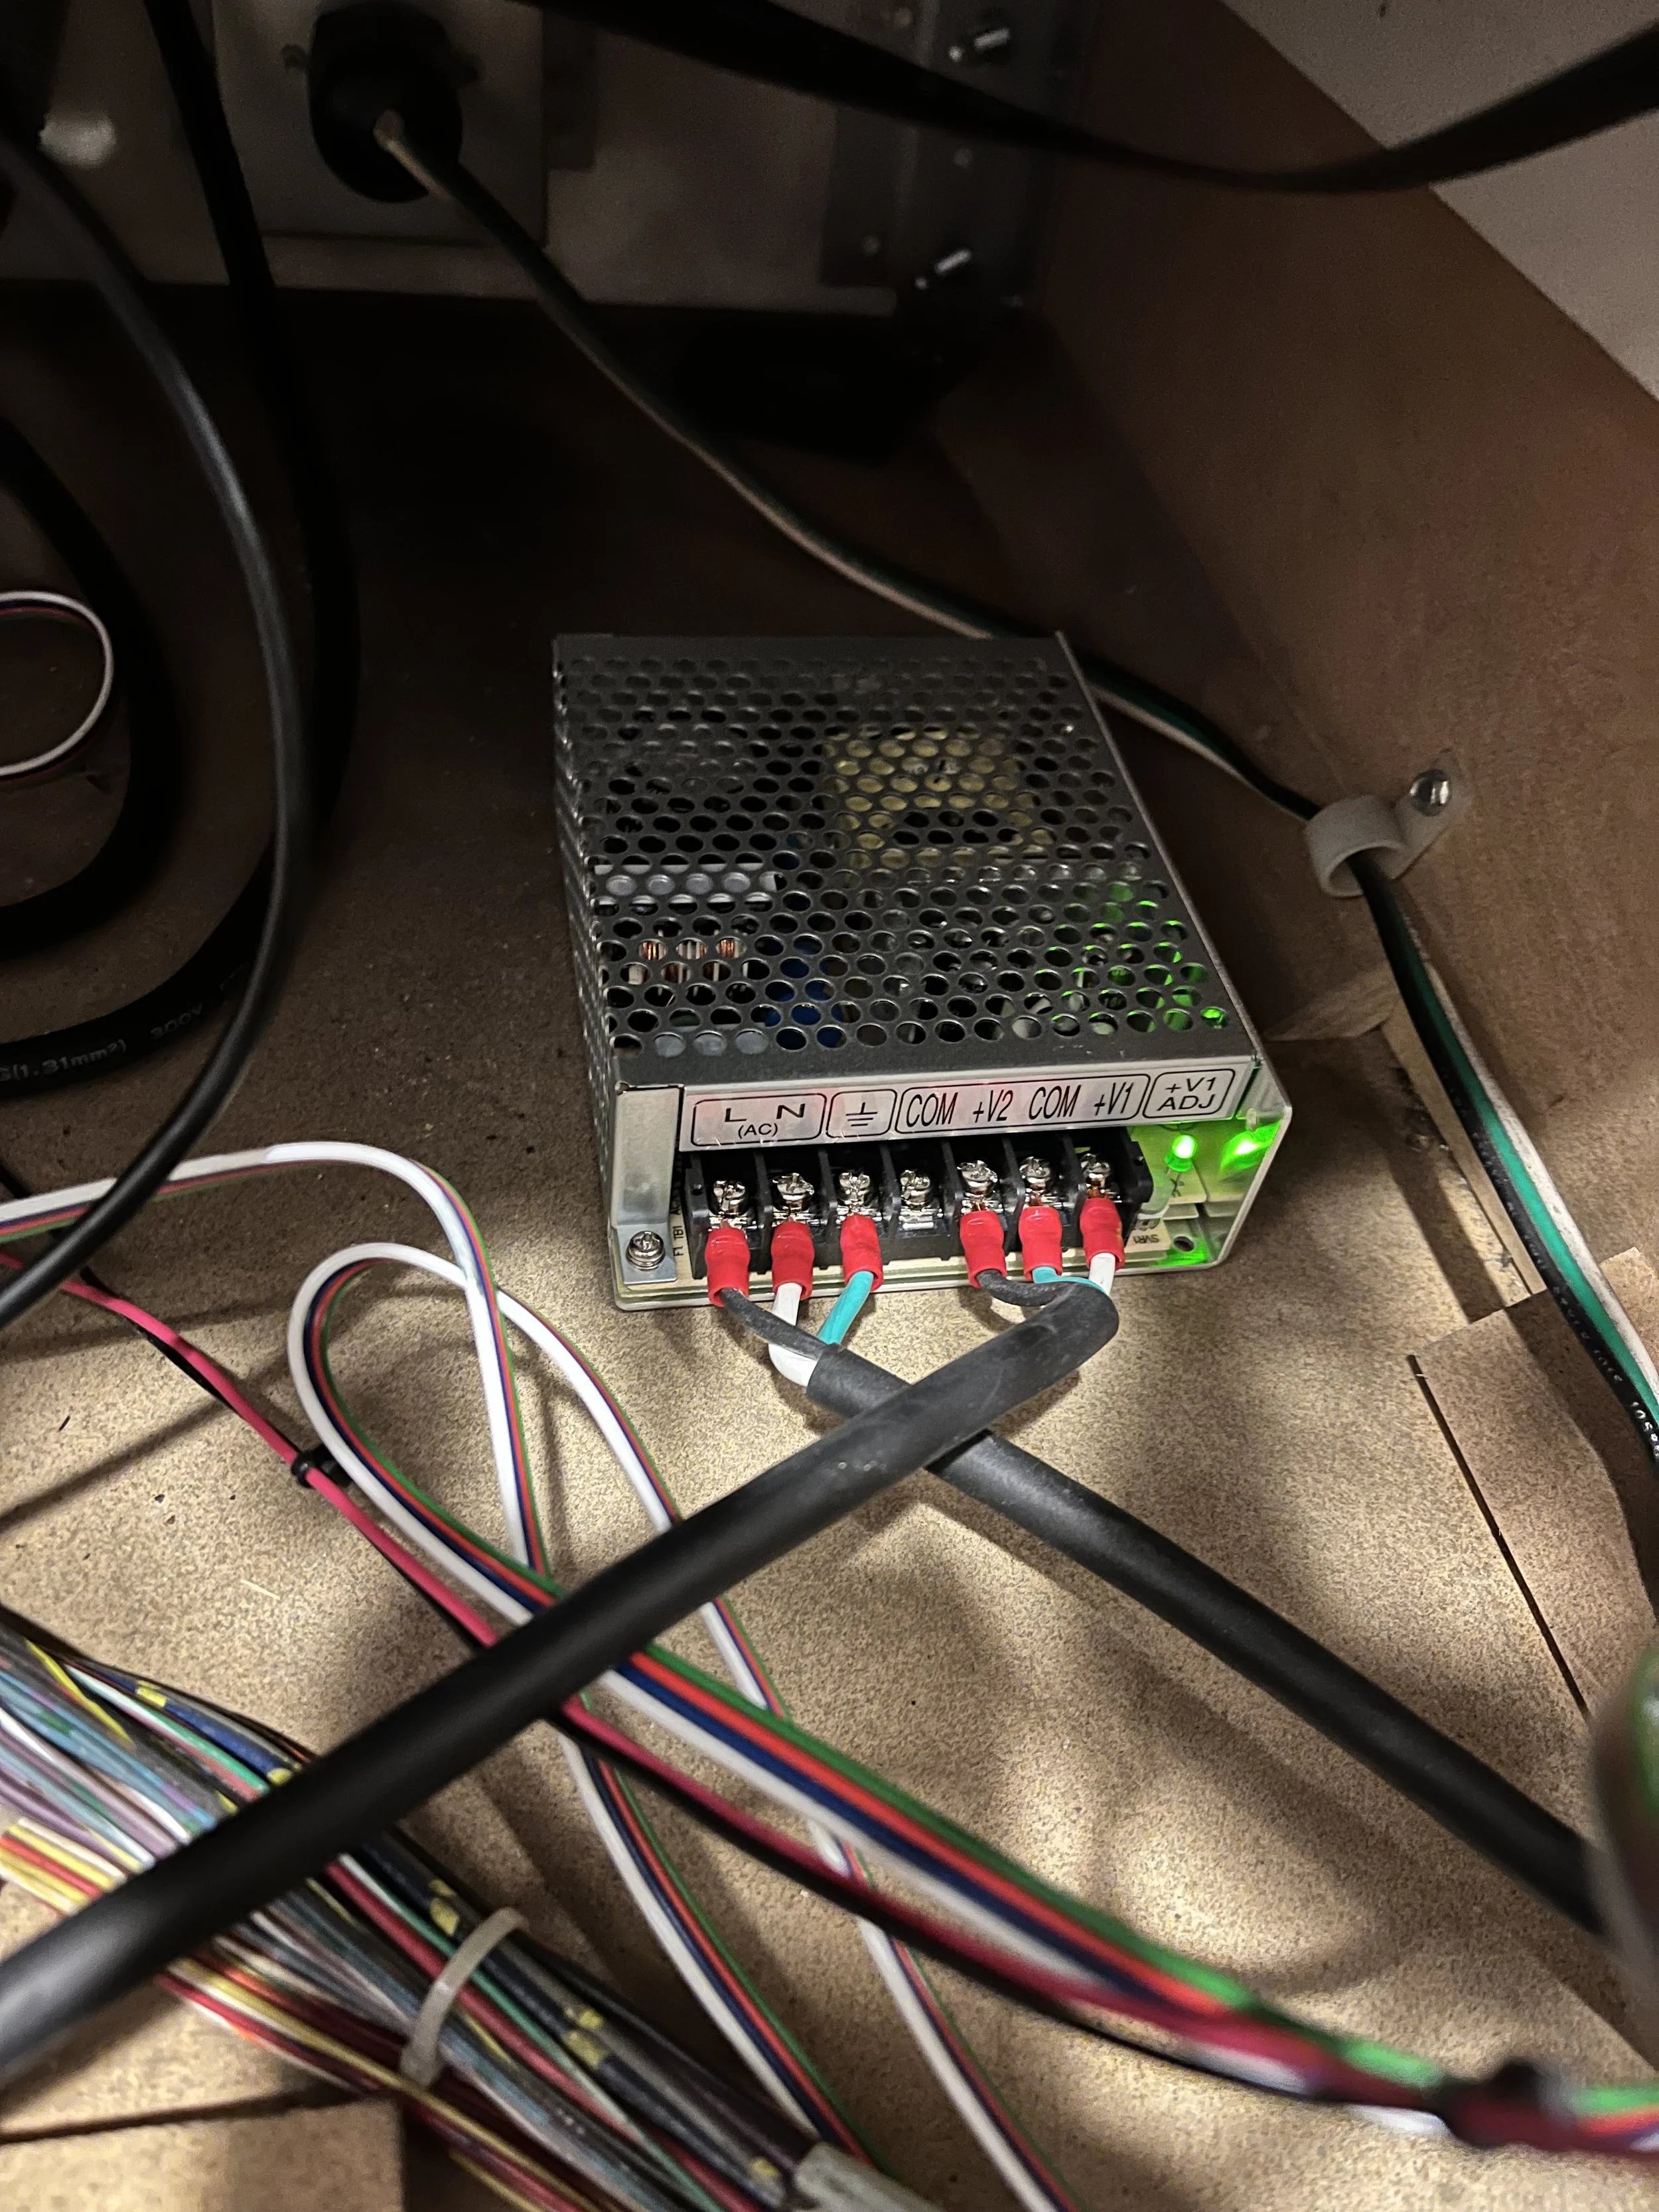
The gumball light kit was one of many such examples and ultimately in order to get everything working I had to add an auxiliary power supply so that the mods were no longer plugged into the power board. Enter Brandon from Arcade Upkeep and his very well made dual power supply kits!
These kits come with plugs that work on both Bally/William and Stern machines, but Brandon was kind enough to include an adapter that allowed me to plug into one of the Stern ports and add 3 more Bally hookups. Now I can power up to 6 additional mods from the single power supply!
Currently, I have the speaker panel lights, colorDMD, and PinVision hooked up here and still have 2 ports I can use for future mods (the speaker lights require 2 ports), so maybe that gumball light kit will be making a reappearance sometime soon!
So there you have it ladies and gents, a one-year project summarized in 6 easy-to-read pages, and there’s still more to come! Overall, I love how this game is coming together but I also know there’s going to be plenty of people out there (the purists!) that will hate it. And that’s totally OK. The point is, I dig it, and since it’s not likely to be leaving my collection any time soon, that’s all that matters!
If anyone even read this far and happens to have any questions about any of the installs described in this ludicrous story please feel free to reach out! I’d love to help if I can and put some of my hard learnings to use for someone else!
Best of luck!

